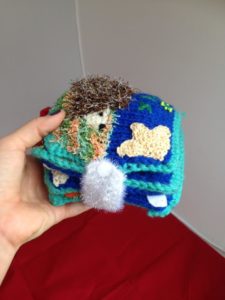
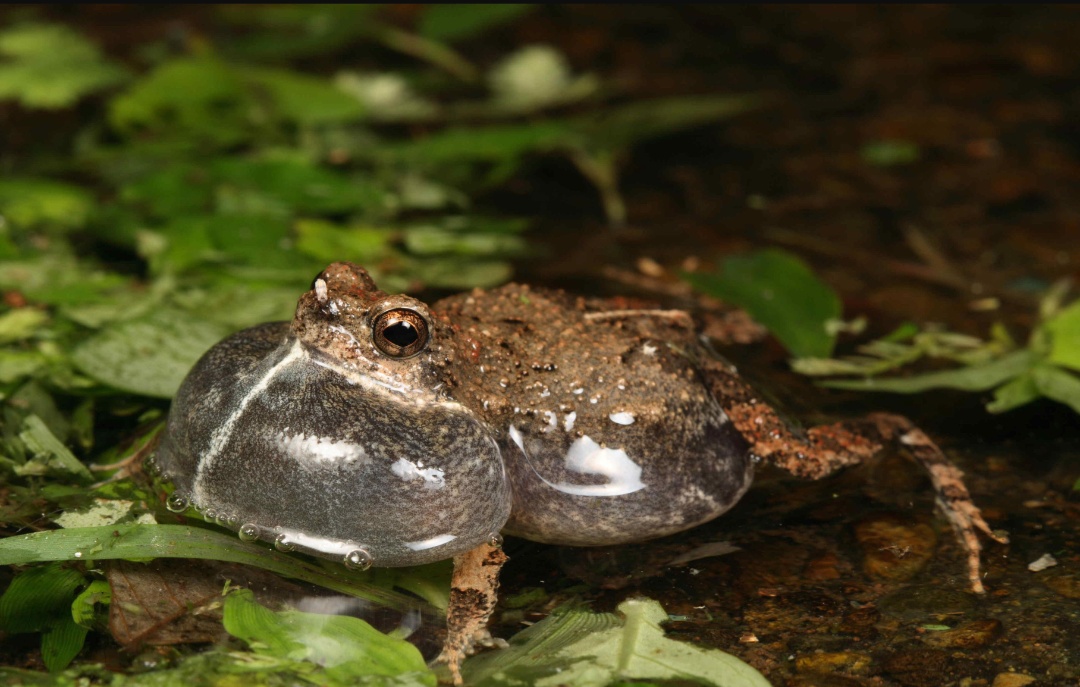
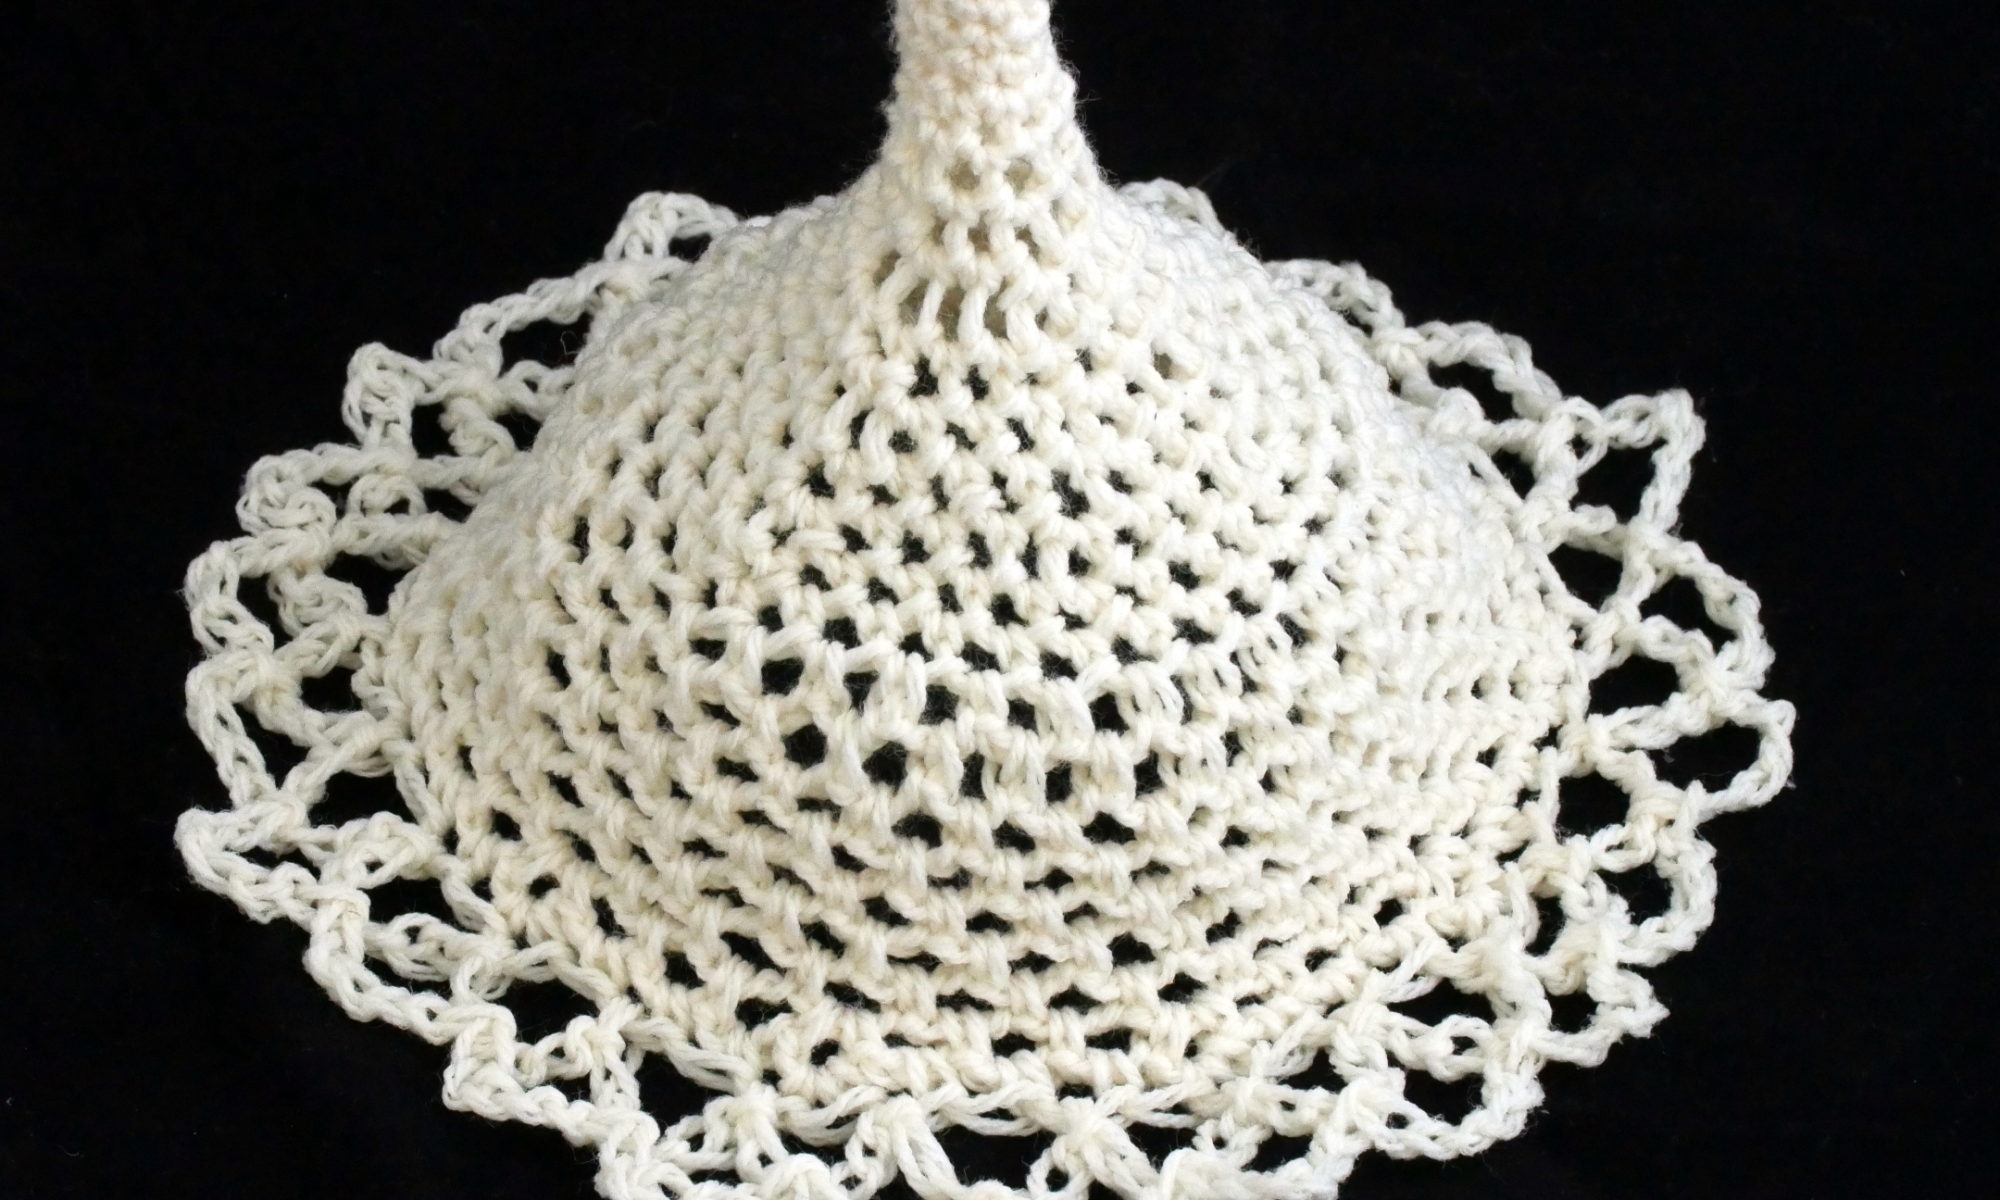
Have you ever been on the shore and seen the water start to glow, seemingly magically? This effect is often caused by dinoflagellates, tiny protists that sometimes glow blue-green when agitated by the tide, an oar, or a human body. Learn how to make your own with simple crochet and some electronics! This tutorial will show you how to make a dinoflagellate that glows and fades when shaken, but you can always leave out the electronics if you’d just like to make the shape of a dinoflagellate.
 (Image from Wonderchews.com)

Skill level: Intermediate, requiring some simple electronics
Materials needed: You can use any kind of blue or blue-green yarn for this – I’m using a fine mohair-nylon blend, held triple. Any worsted weight or chunky weight yarn should work. We’re not going to make this too tight to contribute to the translucent effect, so I’m using a G 4.00 mm crochet hook.
Crochet rows 1-10 twice to make two sides of the dinoflagellate.
P1 – Craft the Creature
Making the two hemispheres
- Crochet six sc in a magic circle. Join last st to first with a sl st. (6)
- Inc around. (12)
- (Inc, sc) * 6. (18).
- Sc around. (18)
- (Inc, 2sc) * 6 around. (24)
- (Inc, 3sc) * 6 (30)
- Sc around. (30)
- (Inc, 4sc) * 6 (36)
- Sc around. (36)
- Sl st into first st and ch 1. We will work into the front loop only for this round.(Inc, 5sc) * 6. Sl st to first st, skipping chain st. Cut yarn and fasten off. (42)
Making the veins and ridges
Do some surface crochet to mimic the veins on the dinoflagellate. Simply join yarn anywhere on the outside of a hemisphere near a front-loop seam and vary single crochet and half-double crochet in wanderling lines around each hemisphere. Continue making these veins until you’re satisfied with the surface.
Try chaining at the end of some of the veins to create a dangling thread separating from the body. I made a corkscrew effect by chaining, doing slip stitches back along the first couple stitches of the chain, and then working three scs into each of the remaining stitches of the chain. When I finished the chain, I slip stitched back into the body, finished off, and weaved in the ends.
Connecting the two sides
Now we will connect the two halves together. Join yarn to the circle of front loops on one side. Then slip stitch the front loops from each side together. You can do this about halfway around, leaving a gap that is big enough to insert the LED mechanism.

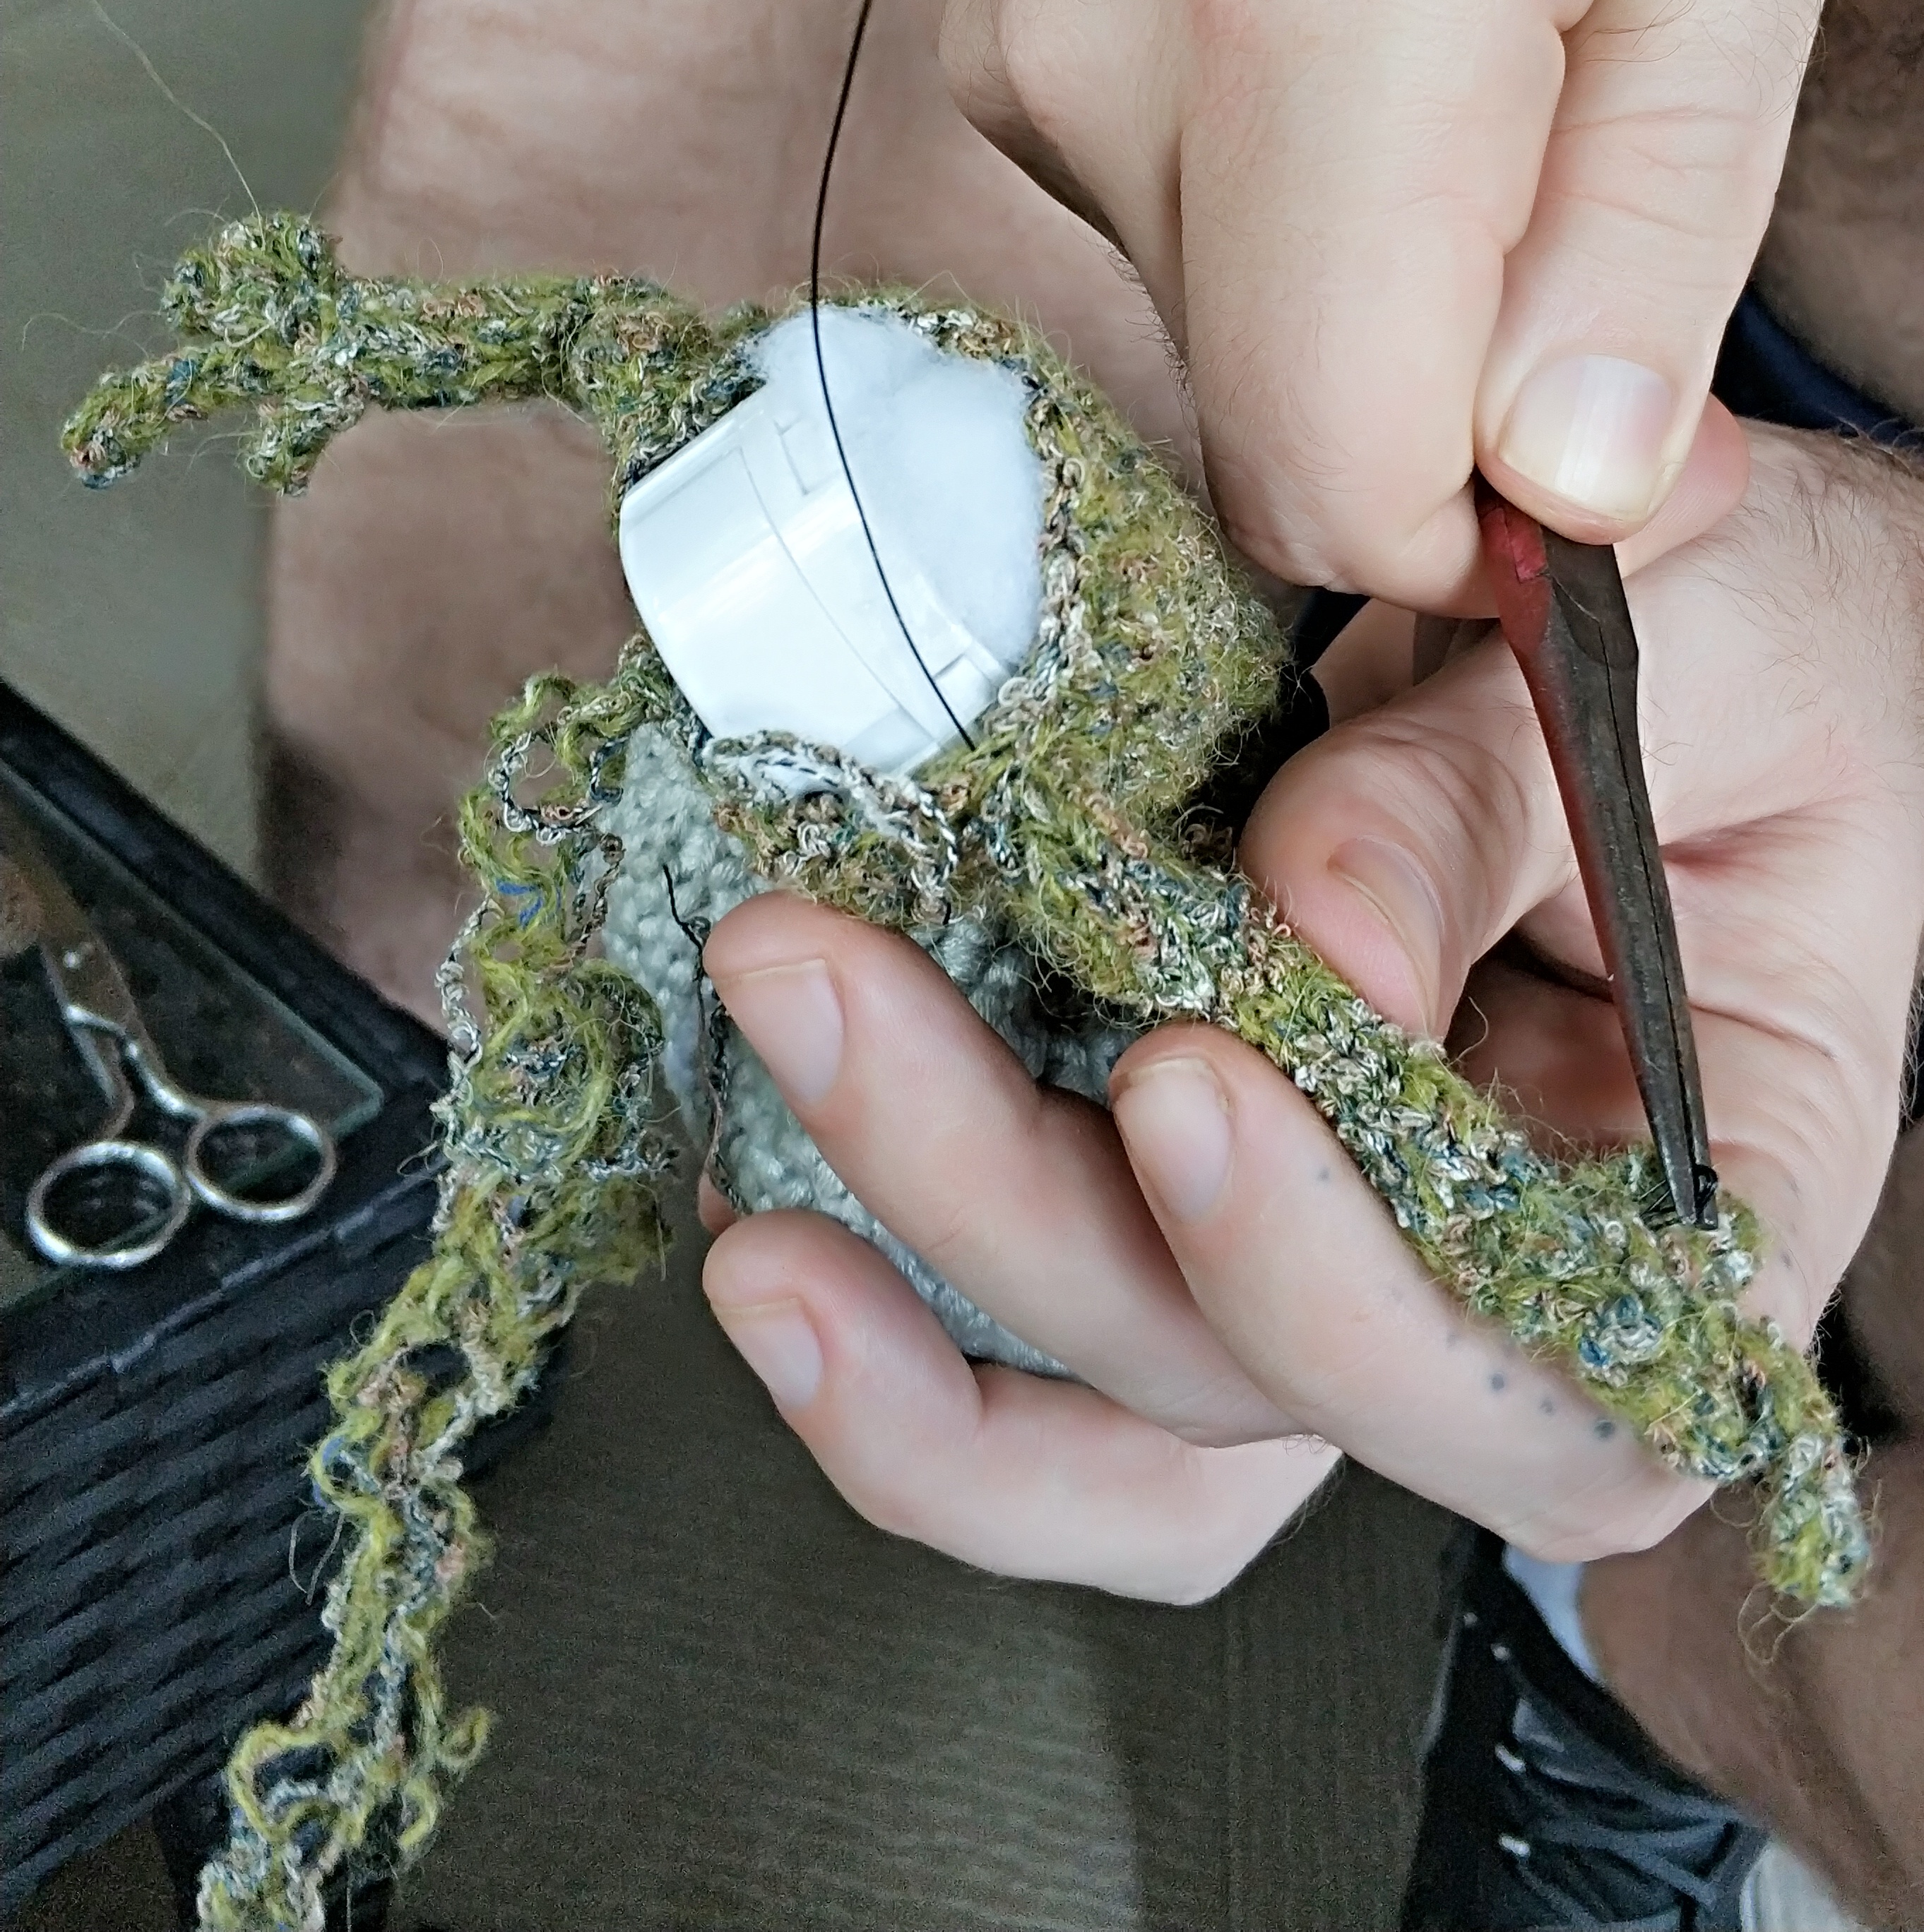
If you don’t think you’ll need to open the dinoflagellate again to change out the battery, insert the LED mechanism now. You can use a little polyfill to fill it out if you want, but make sure not to obscure the light too much. Then you can slip stitch the rest of the dinoflagellate together, finish off, and weave the end in.
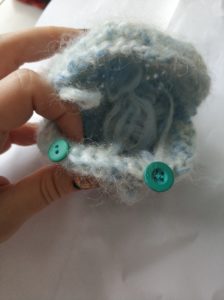
If you’re using the Arduino for your LED, you’ll want to be able to reopen the dinoflagellate to change the battery out. We’ll make some button holes on one side and sew buttons on the other side. After leaving a gap big enough to take out the mechanism, slip stitch in the front loop of one side only about a third of the way across the gap. Then chain two or three, depending on the size of your button.
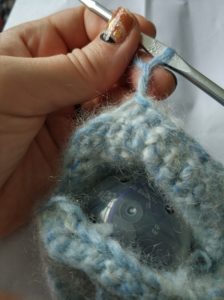
Slip stitch into the next stitch to close the first buttonhole.
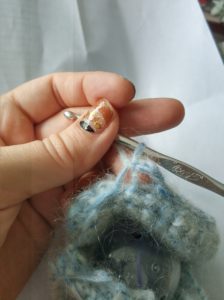
Slip stitch another third of the way, and then chain two or three again. Slip stitch into the next stitch, and then slip st the rest of the way across the gap. Finish off and weave ends in securely.
Sew buttons on the front loop circle on the opposite side of the dinoflagellate, making sure to line them up with the button holes.
P2- Making it Light Up!
via GIPHY
Real bioluminescent dinoflagellates light up when perturbed. That gives the glowing effect when thousands are in the water and you splash into the ocean during a bioluminescent bloom. We can make a similar system using just some inexpensive open-source electronics!
The electronics are pretty simple. The mechanism we are going to use is just having a switch that changes between open or closed when the dinoflagellate is shaken.
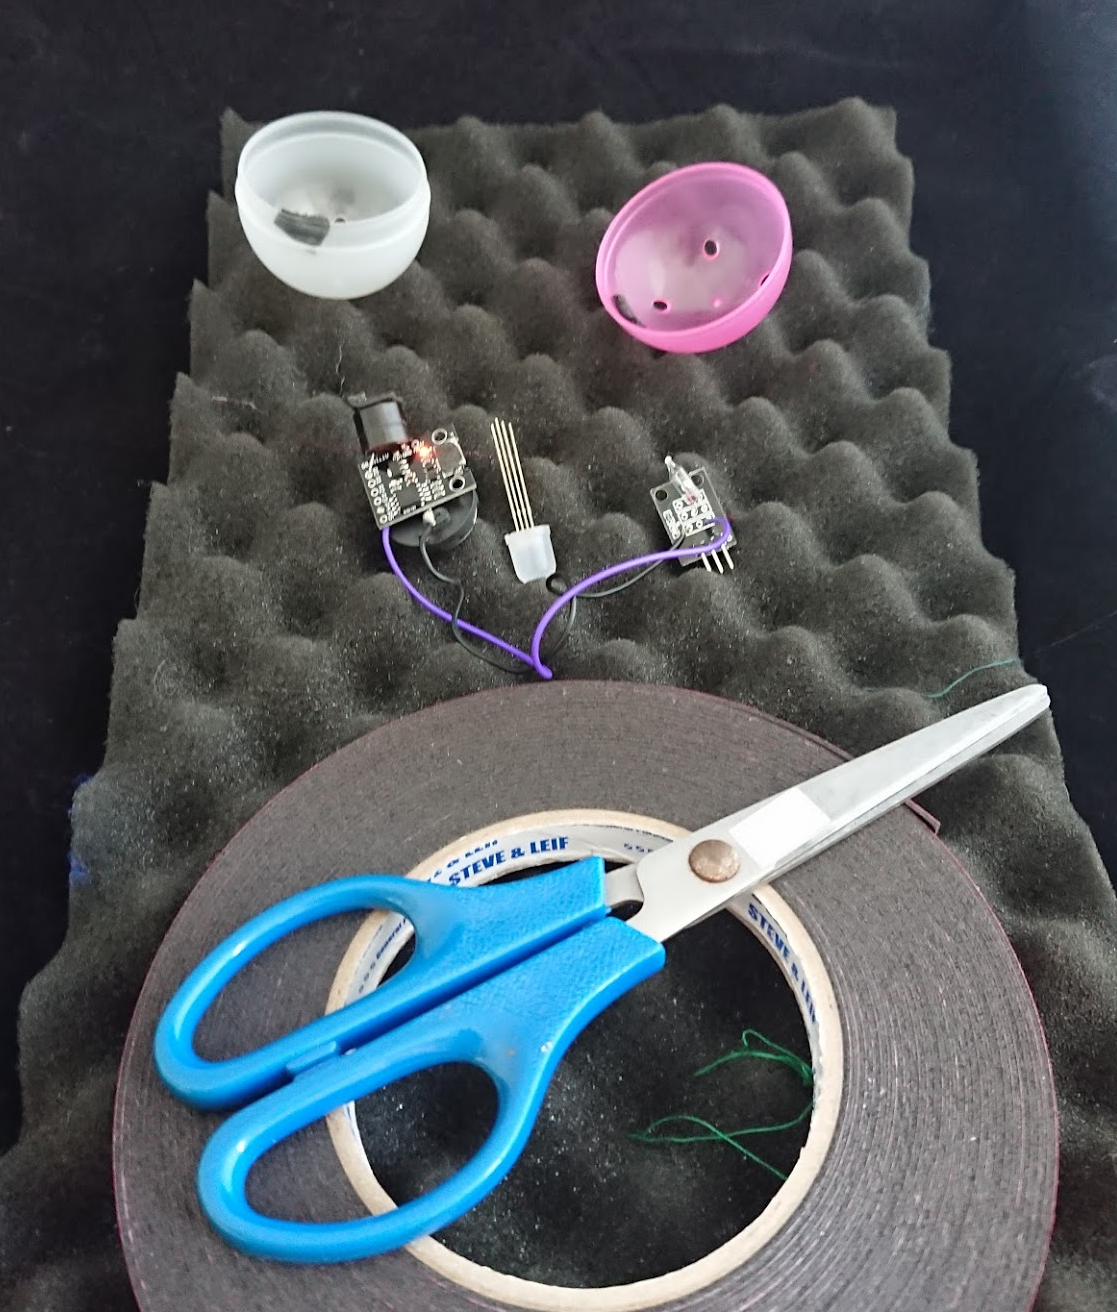
Materials Needed
- An arduino (We used a digispark ~1$ usd! You can find on aliexpress or ebay)
- a 10mm RGB LED (this is an led with 4 legs sticking out)
- 2 coin cell batteries
- Coin cell battery holder
- tilt sensor
- wires
- wire stripper
- Double Sided thick sticky tape (the spongy kind)
- Scissors
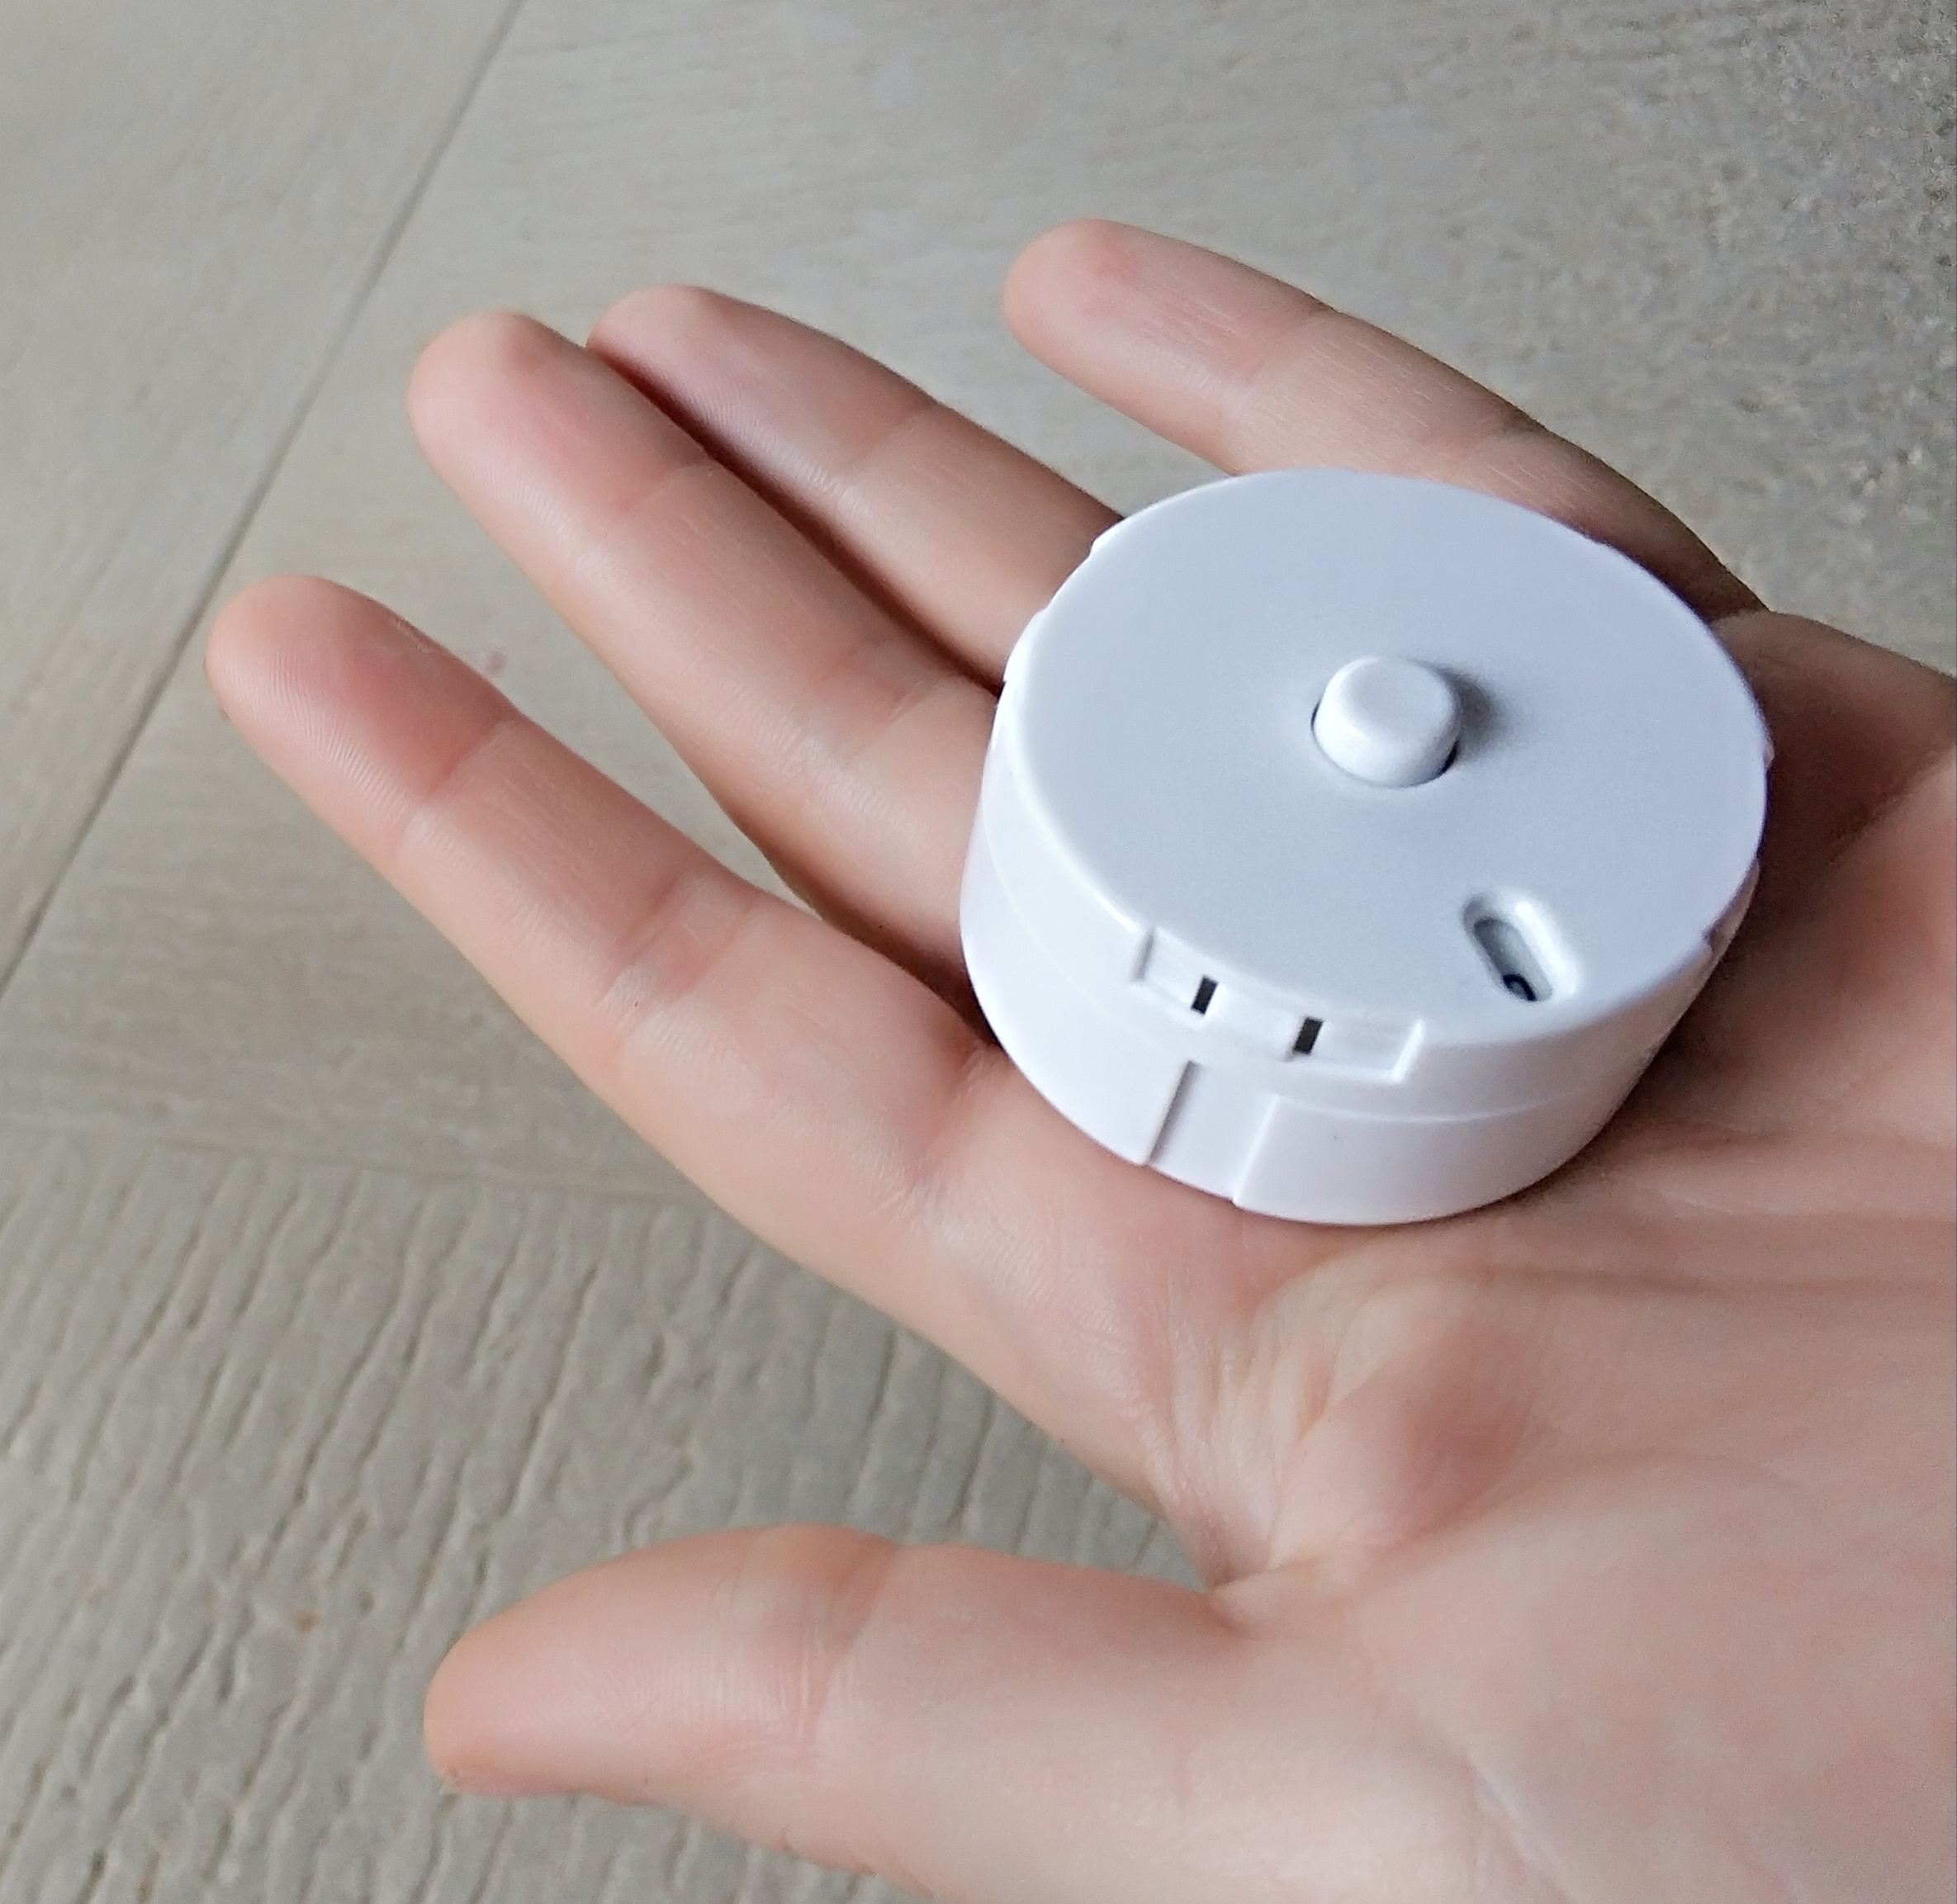
- Capsule from a vending machine (like the Gotcha-Gotcha balls in Japan)
Assemble the Electronics
First you can connect the tilt sensor. The tilt sensor is basically just a switch that when it is turned one way it will close the circuit and make a connection between the two wires inside it. Connect the end of 1 wire to one side of this sensor/switch, and connect the other side to pin 4 of your arduino. (purple wire in the pic below). Then connect the second side of the sensor to the GND side of the arduino (or just the negative side of the battery).
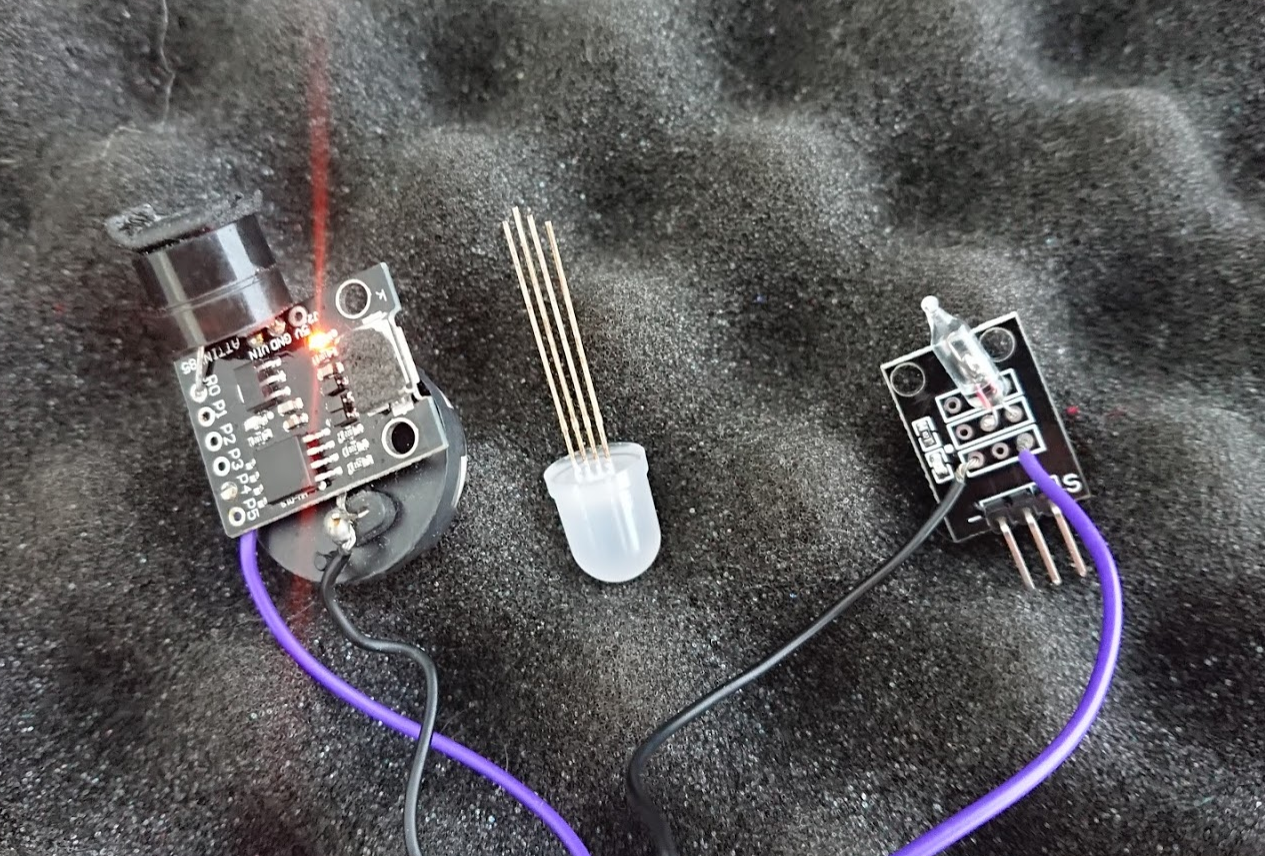
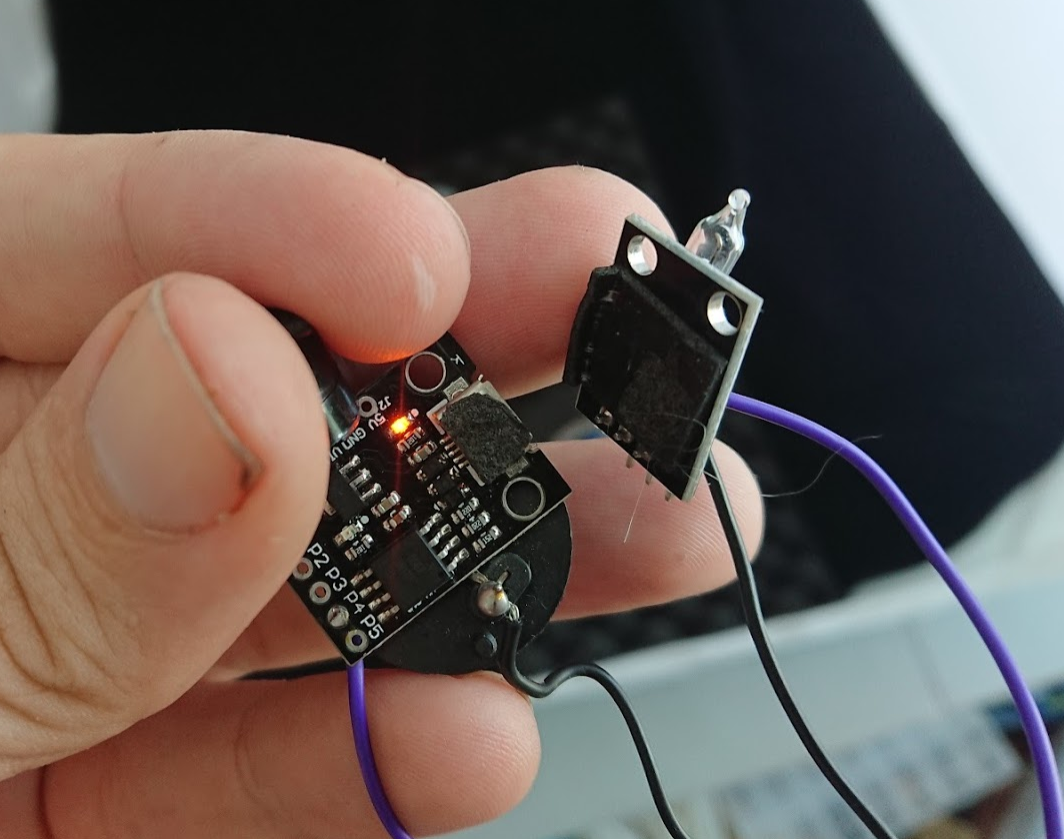
Now use some of your double sided tape to stick the tilt sensor securly onto the arduino.
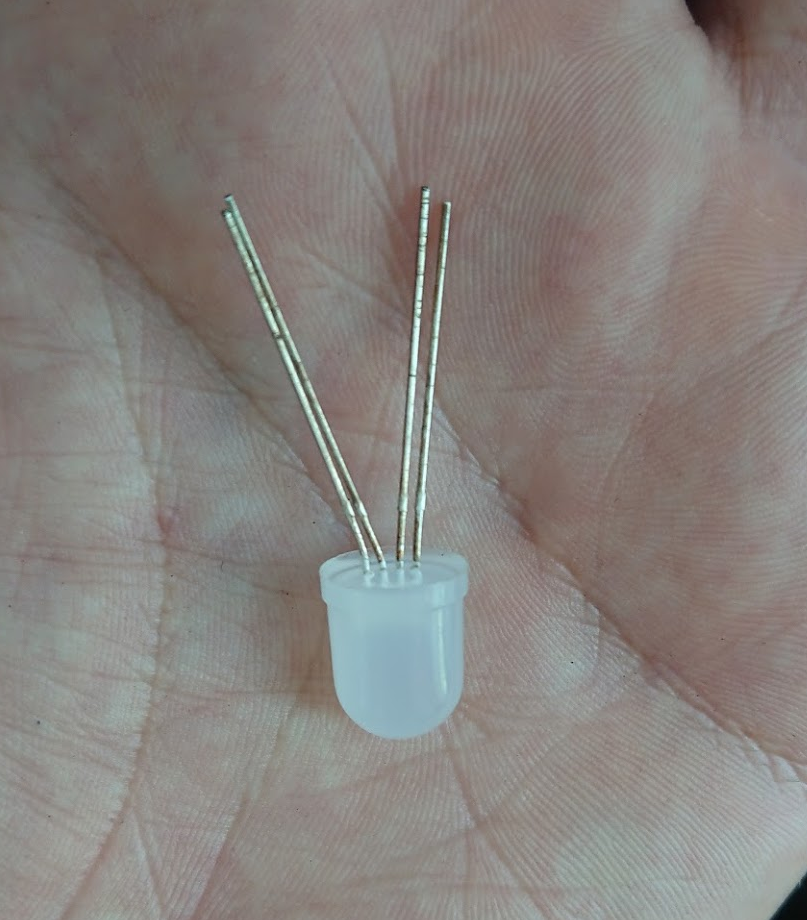
On your LED, there is 1 really long leg which is the common ground (or common + if you get a different type of LED). The other 3 are the Red Green and Blue led legs. Take the RGB LED and part its 4 sets of legs in the middle into 2. Put a coin cell battery in between these two sets of legs, and try to make it light up. It if doesn’t light, flip the battery over and try it again. With this orientation, you should get a nice bluish light that shines from your LED.
Plug the two legs that touch the + side of your battery into Pin 1 of your arduino. Plug the other two legs into either the GND pin or to Pin2 (which we turn into a GND pin with code later).
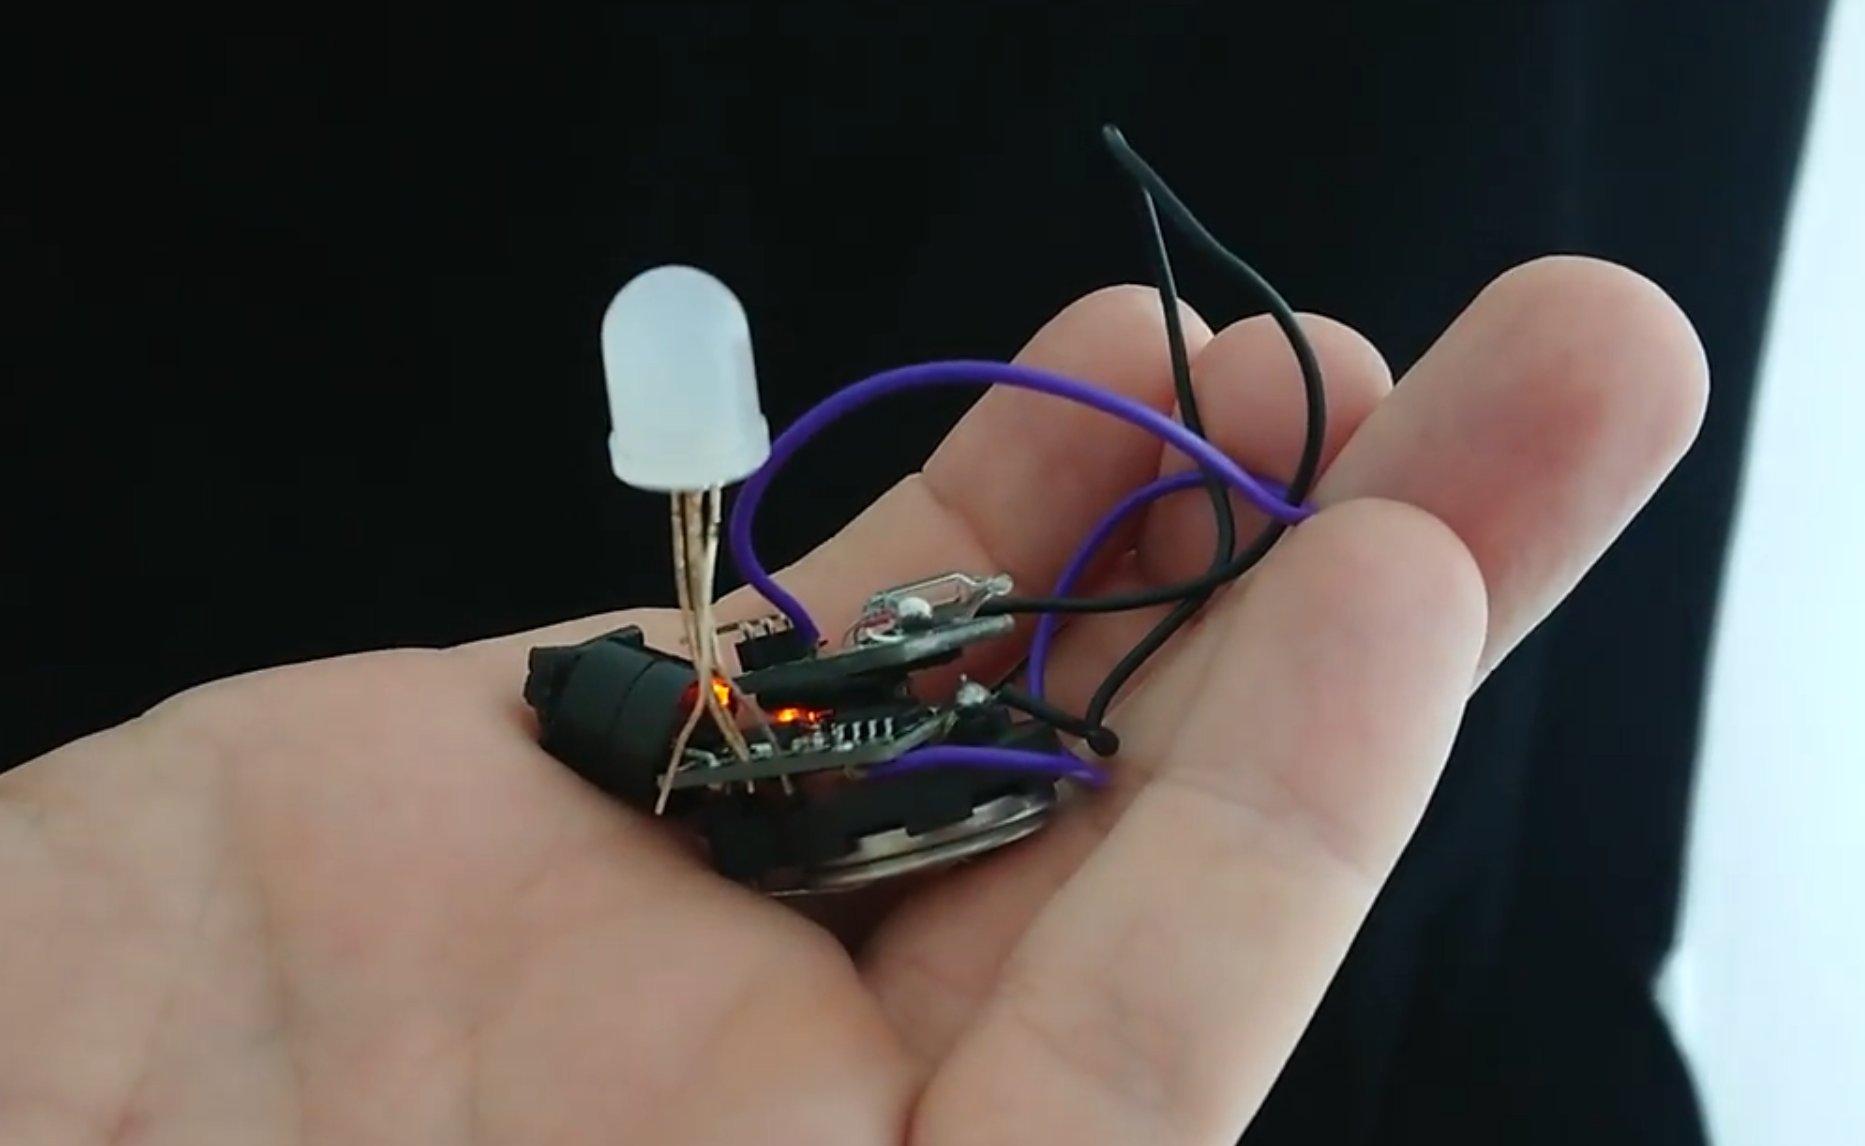
Finally, lets add some power to our arduino. We need some batteries for it to run. Load in two 3 Volt, coin cell batteries (the digispark arduino we are using needs at least 5 Volts to turn on, so that’s why we stack them).
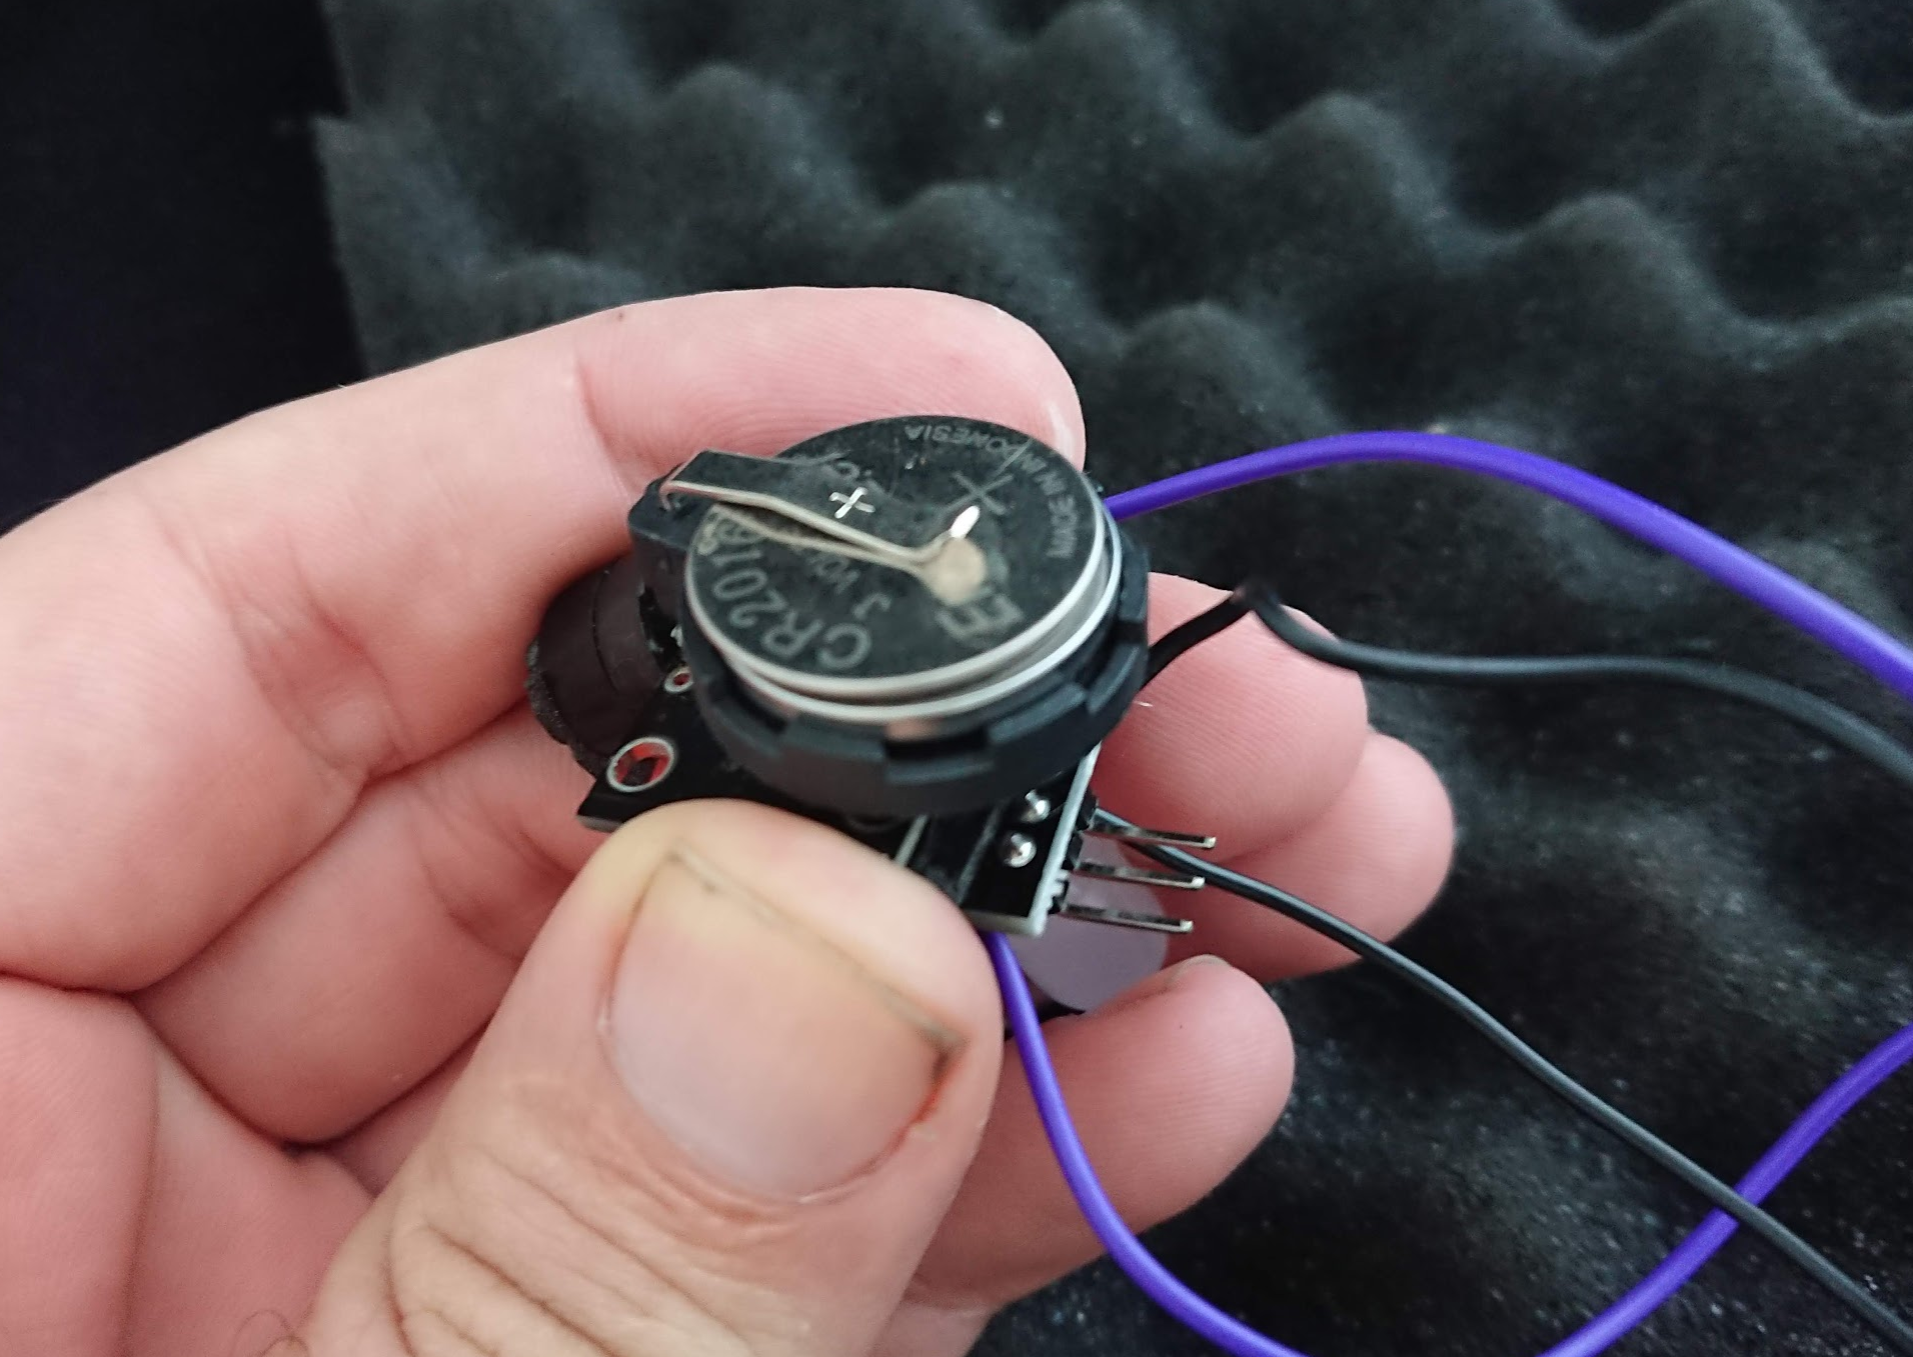
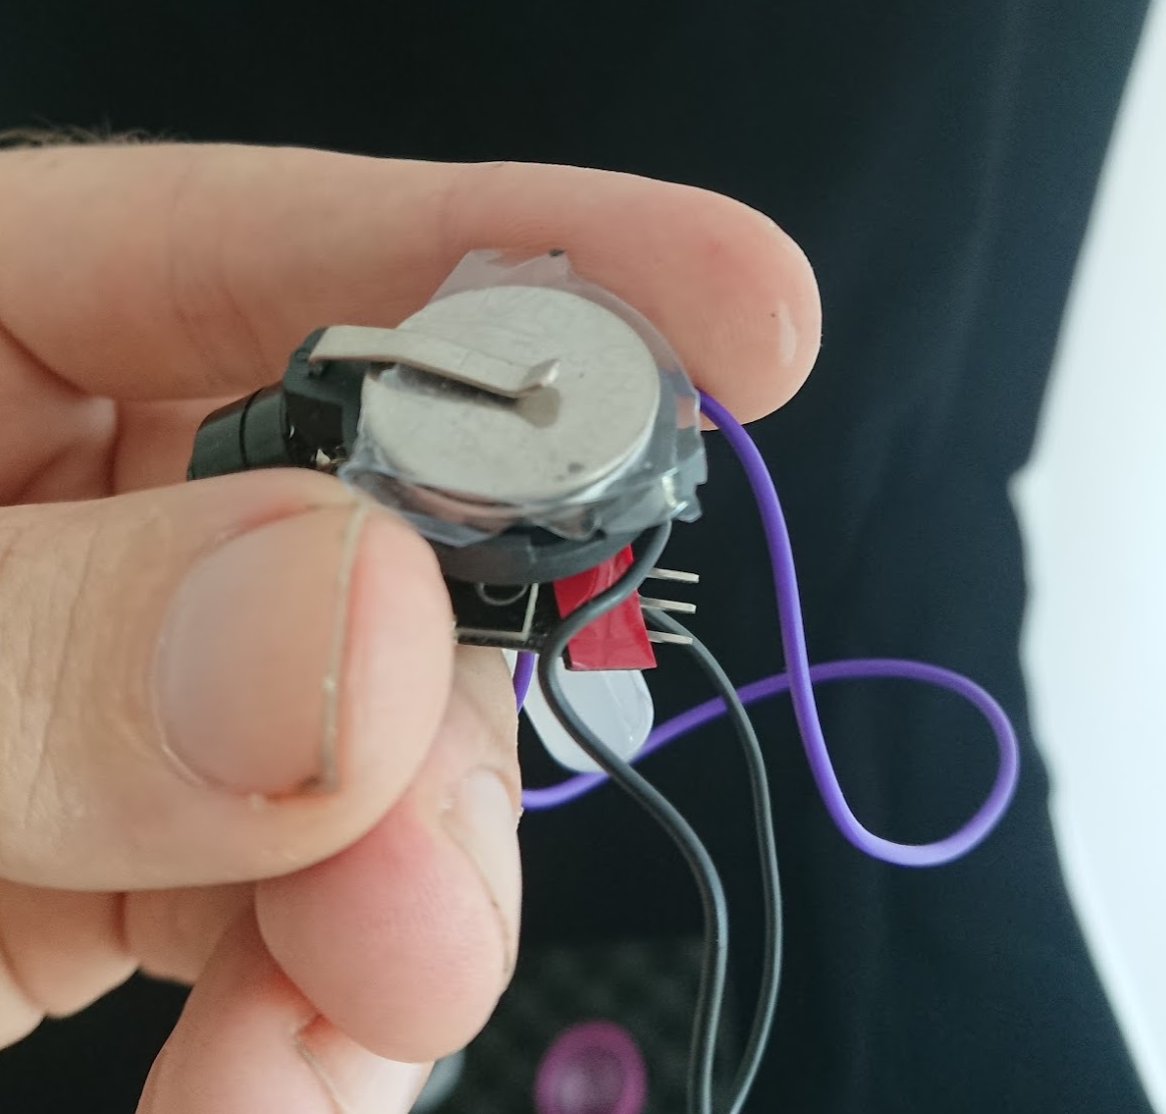
When we want to turn it off, we can just slide a thin peice of plastic between the batteries and the holder.
Program the Arduino
The final steps can be pretty quick!
Download the Arduino program from Arduino.org
copy and paste this code into your editor.
connect your arduino to the computer and upload it!
/*
Dinaflagellate Shake and Glow Code
Attach a simple tilt sensor (or two wires that bump into each other)

from andy Q and kitty Q
Public domain
*/

// You will need to change this for other arduino versions - the PWM pin the LED is attached to
int led = 1; // On the Digispark, we set the LED to be Pin 1

int brightness = 255; // how bright the LED is. We start at max 255
int fadeAmount = 20; // how fast to fade our LED fade the LED by
int extragnd = 2; //We are setting pin 2 to basically function as a ground pin to make it easy to plug in our LED

//We connect one wire of our sensor switch here
//The other side of the tilt switch sensor will be connected to GND, so when the switch toggles on, it will read as 0, and when the switch is open it will read as 1.
const int sensorPin = 4;


int sensorval = 0; // Our sensor will either be 0 (Ground - low voltage) or 1 (High voltage (~5V))

int prevstate = 0; // we don't really care about if our sensor reads as a 0 or a 1,

int buttonState = 0; // current state of the button

// the setup routine runs once when you press reset:
void setup() {
// declare pin 9 to be an output:
pinMode(led, OUTPUT);
pinMode(sensorPin, INPUT_PULLUP);
digitalWrite(sensorPin, HIGH); //we start our sensor as normally HIGH or 1 when it is not touching ground
pinMode(extragnd, OUTPUT);
digitalWrite(extragnd, 0);
}

// the loop routine runs over and over again forever:
void loop() {

// read the state of the pushbutton value:
//If the switch is tilted one way buttonstate will be 0, and the other way it will be 1
buttonState = digitalRead(sensorPin);

//We don't actually care what buttonstate is, as long as it is different from before
if (prevstate != buttonState) {
brightness = 255;
} else {
}

//save the old button state as the previous state
prevstate = buttonState;

// set the brightness of the LED:
analogWrite(led, brightness);
//if no change happens, it keeps going down until 0
brightness = constrain(brightness - fadeAmount, 0, 255);

delay(30);
}
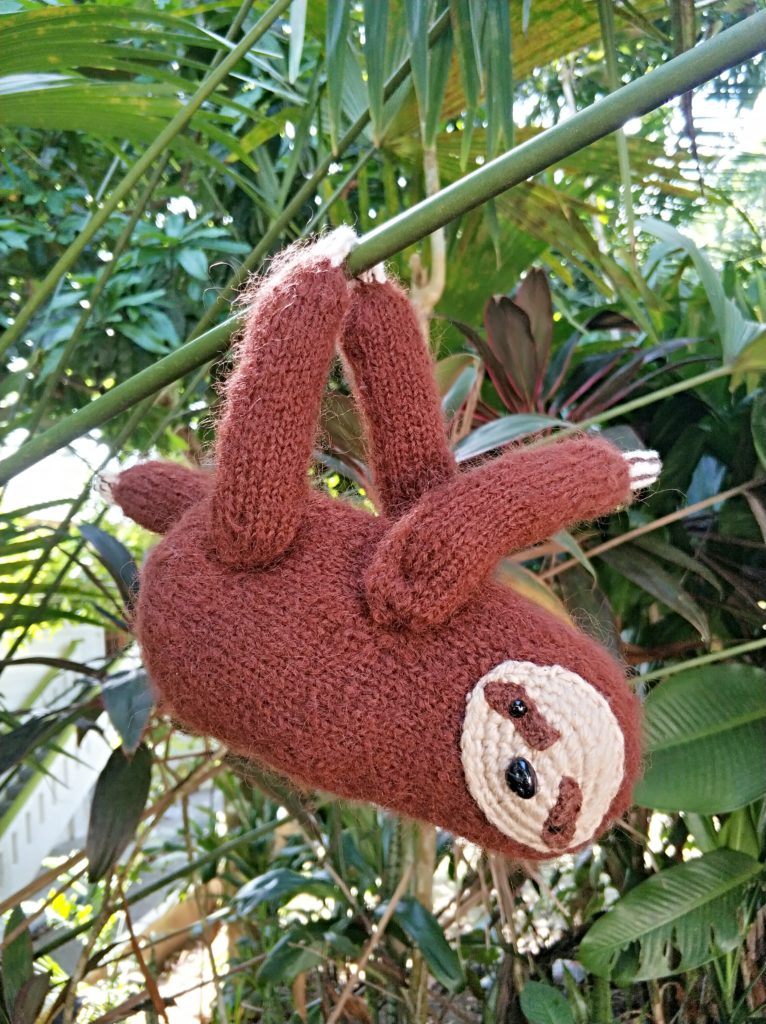
Finally, you can put everything safely inside the plastic ball and button it up inside your little dino! Yay!
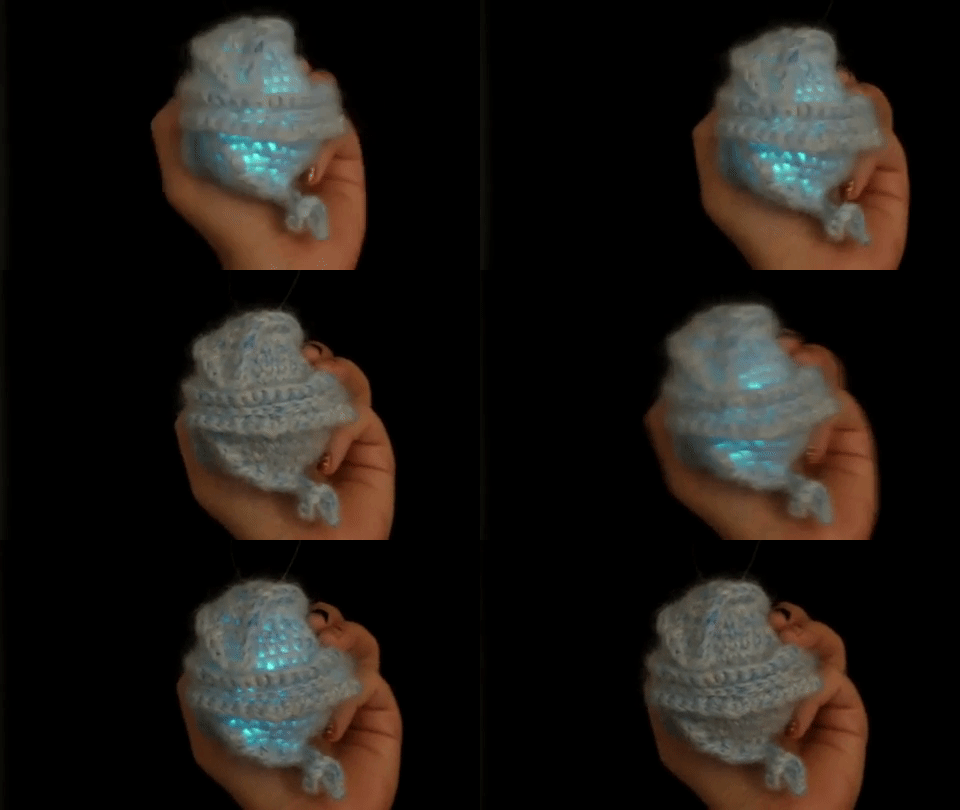
 (Image from Wonderchews.com)


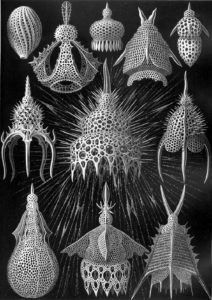 (image from The Scientist Magazine)
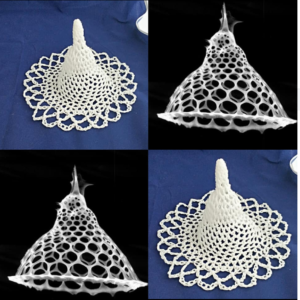 (image from dorabella-ommo.blogspot.com)