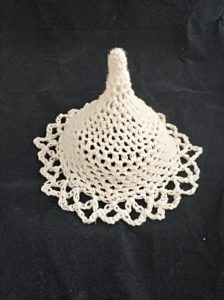
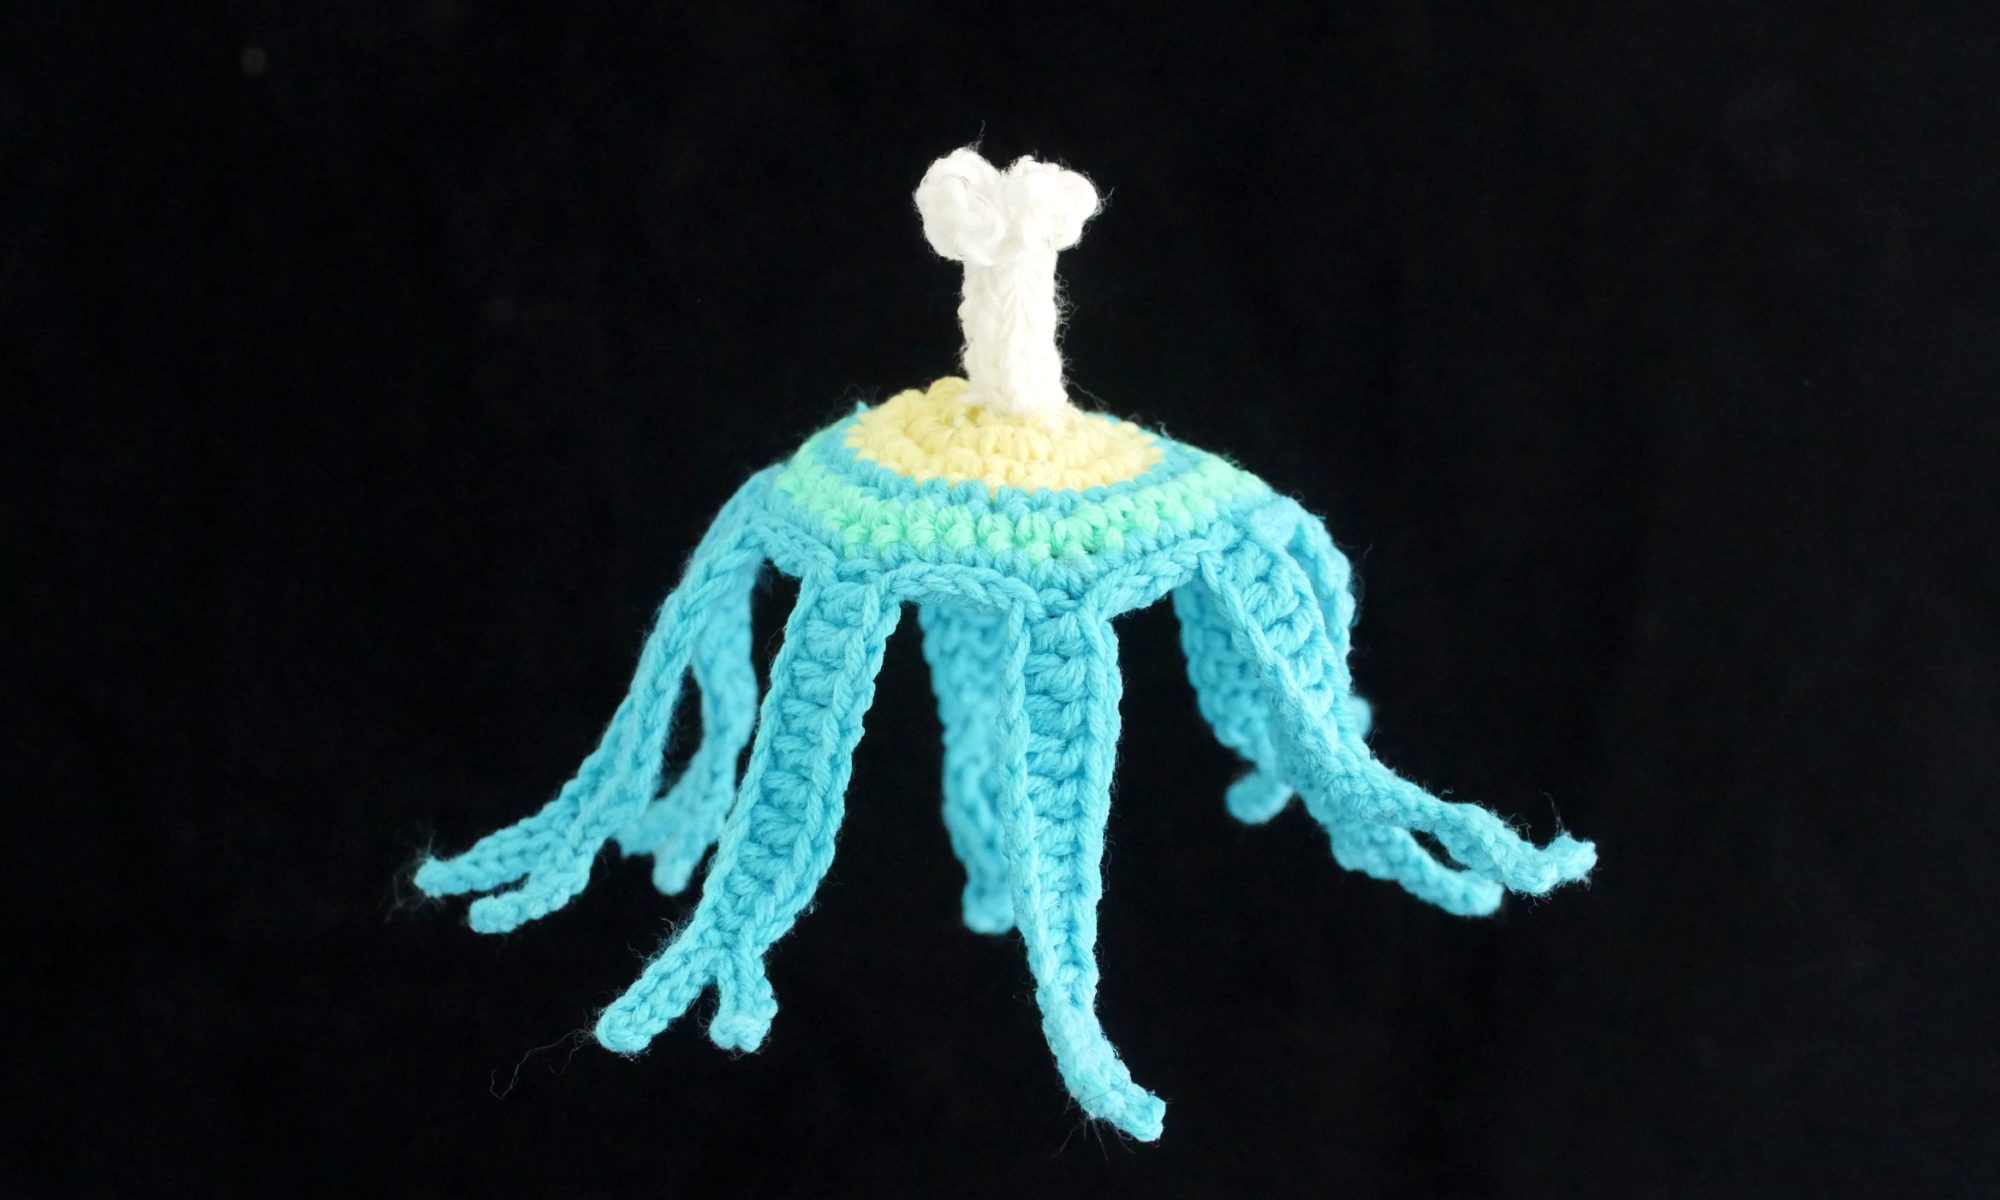
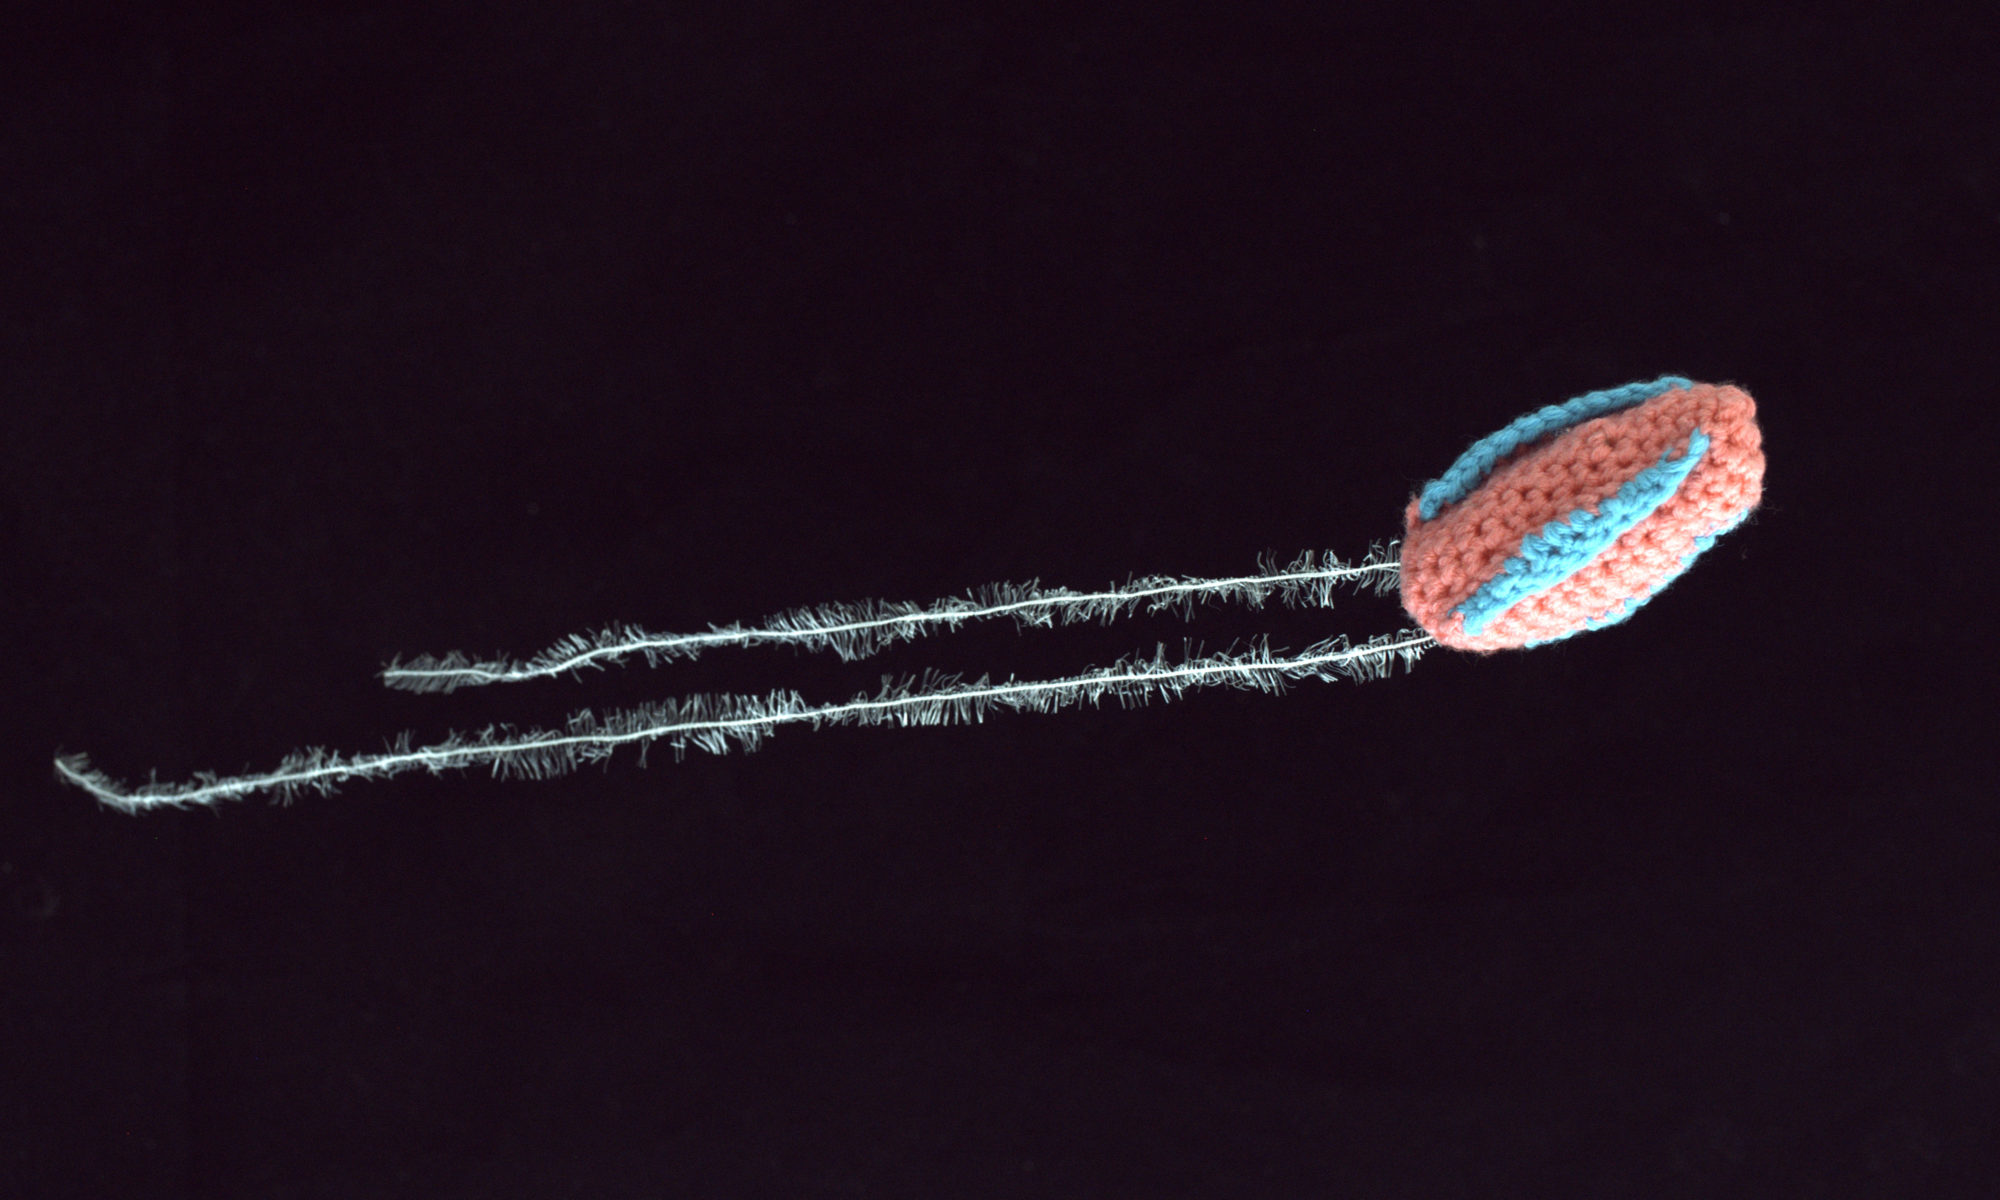
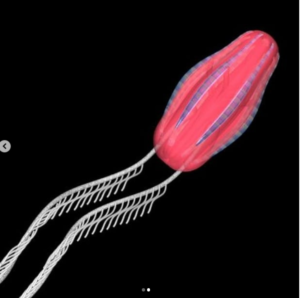
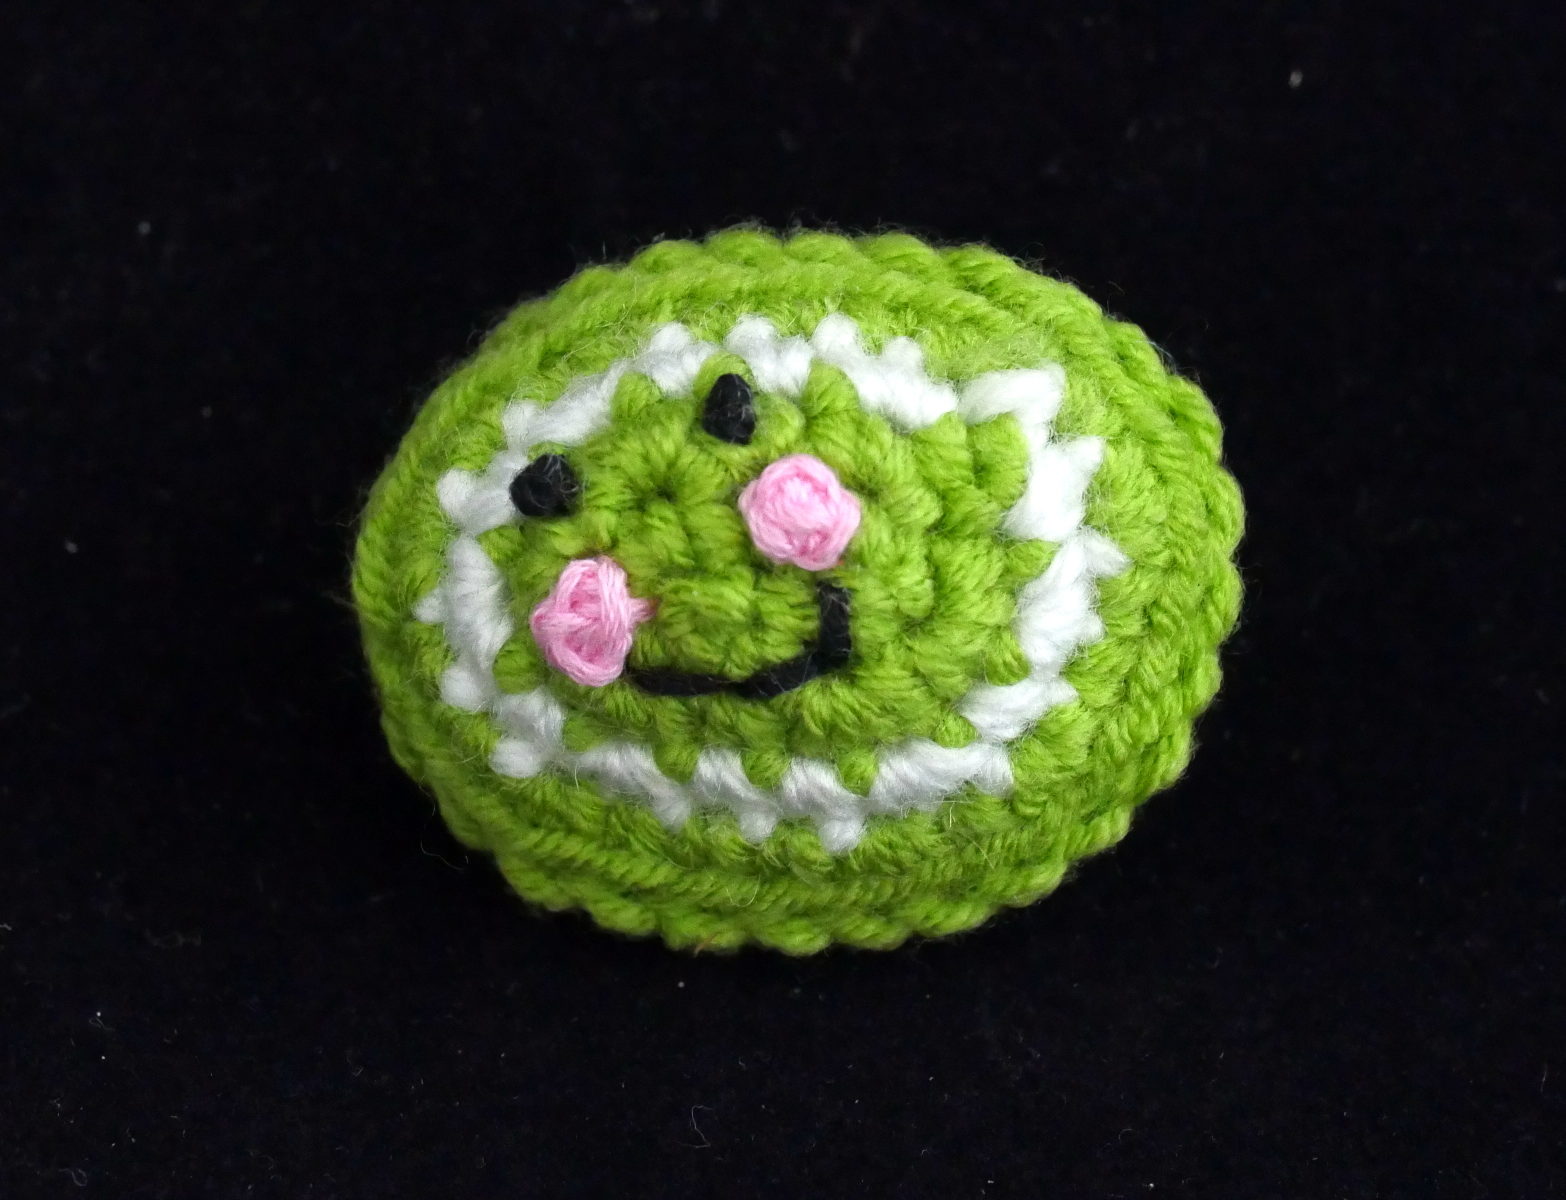
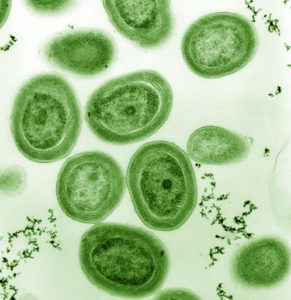
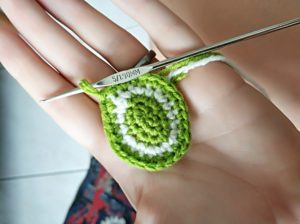
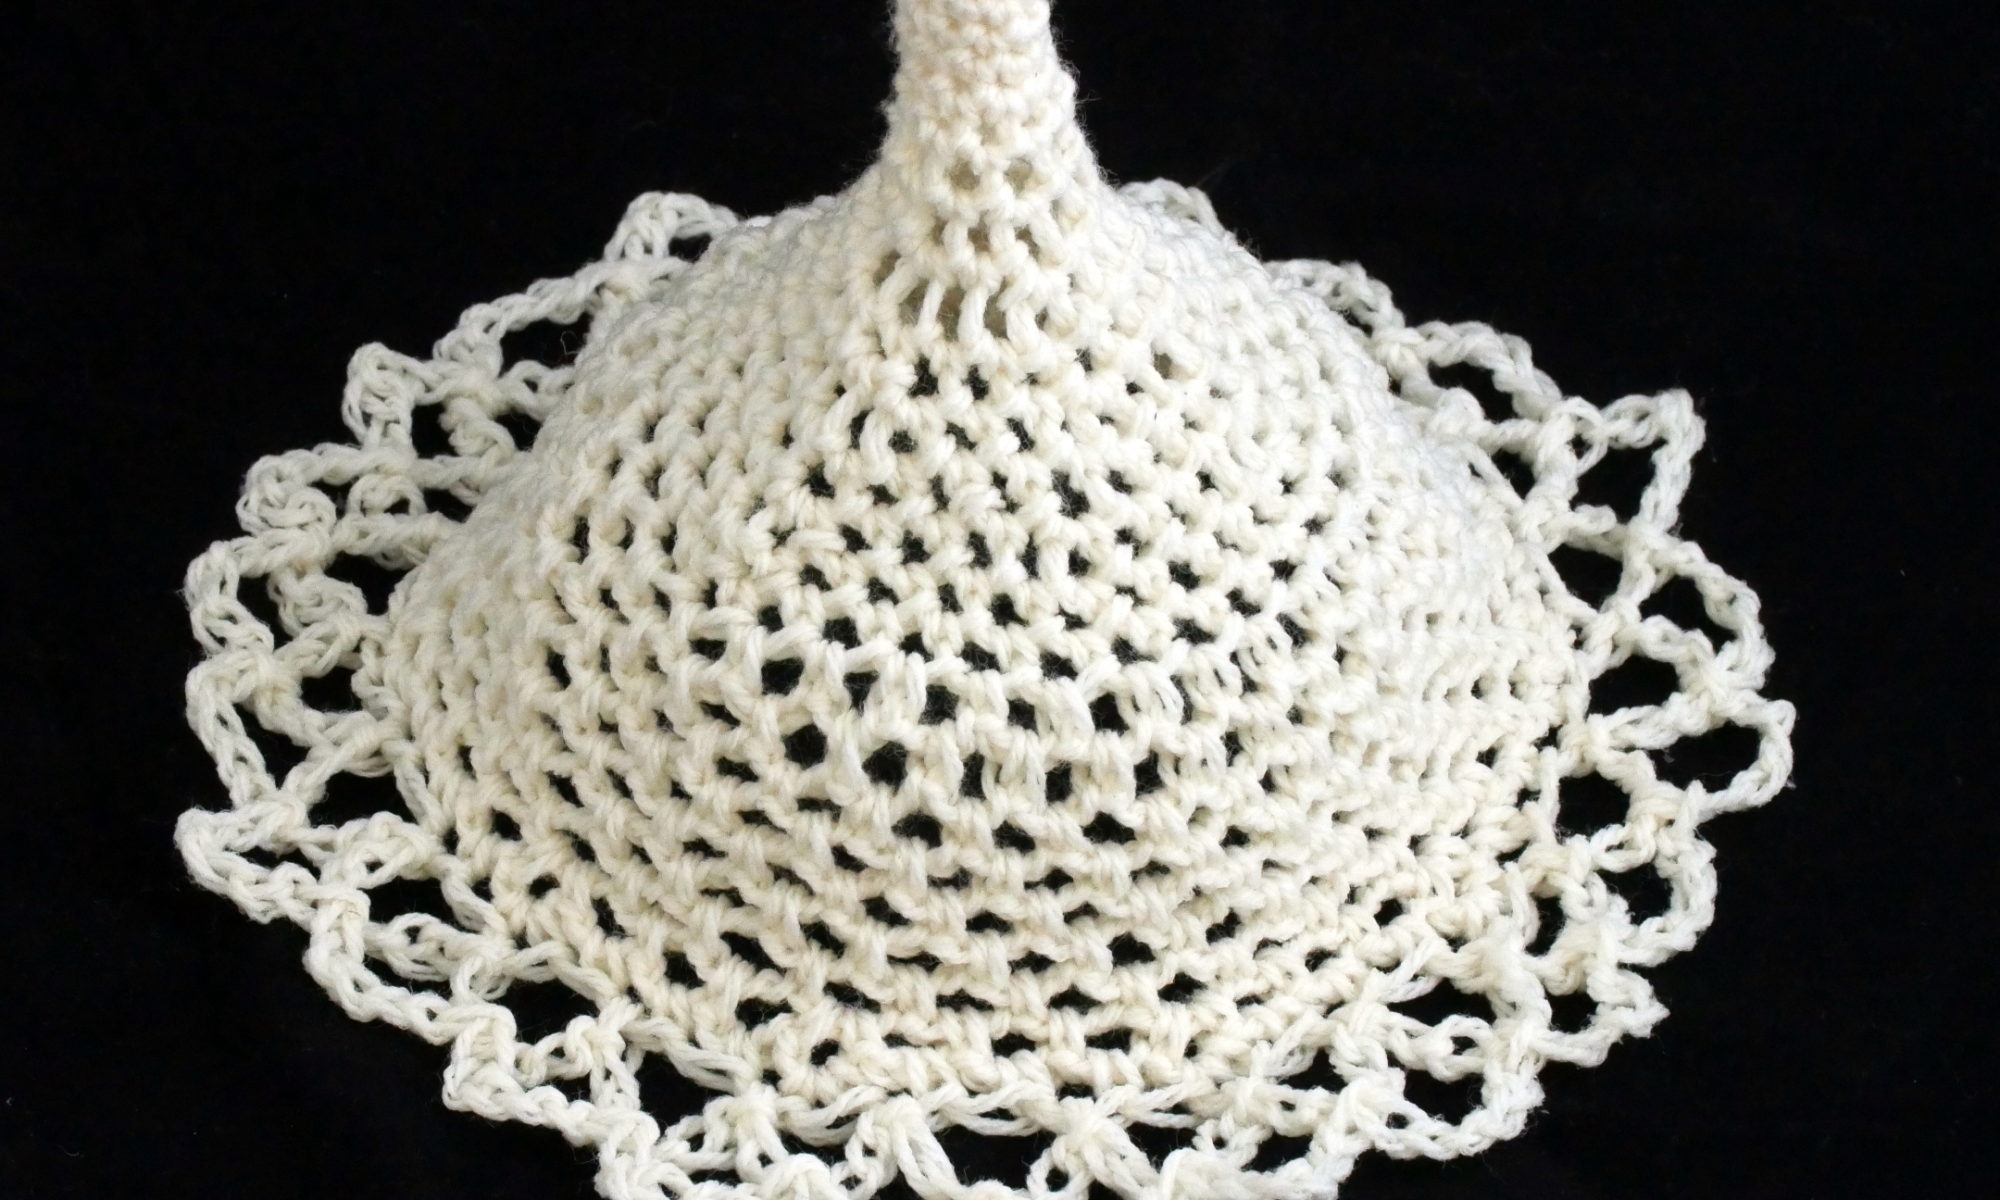
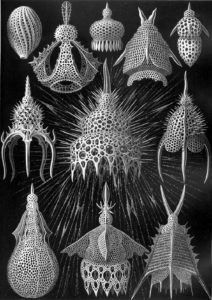
The ephyra is a stage in the life cycle of a jellyfish. Check out these instructions for how to make your own! The following images are my crafted ephyra interspersed with the images that inspired it.
.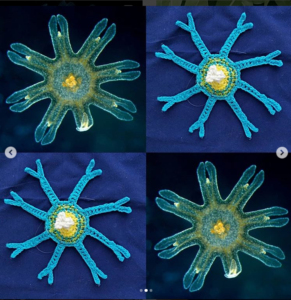
 (image source: Ingo Arndt)
Skill level: Intermediate
Skills needed: basic crochet, I-cord knitting
Materials needed:
-
white, yellow, blue, and green yarns
-
stretch jelly elastic
-
two 3.75 mm double
-
-pointed knitted needles (US 5, UK 9)
-
3.75 mm crochet hook (US F; Canada/UK 9)
I used yarn held with stretch jelly elastic (like the kind used to make stretchy beaded bracelets) in order to mimic the translucent quality of the ephyra.
Let’s begin!
With white yarn and elastic, cast on 4 knit stitches, leaving a long tail, about 16 inches.
Rows 1-7: Knit 4 stitches in I-cord. (4 stitches)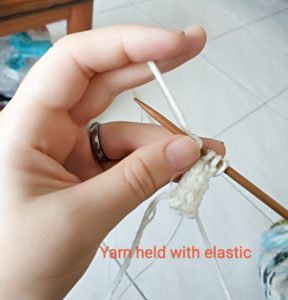
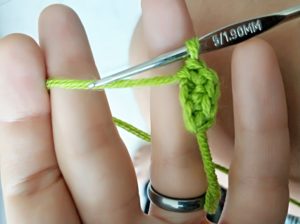
8. switch to crochet and yellow yarn with elastic.
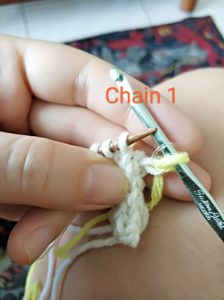
With stitches on knitting needle, insert crochet hook into first stitch. Chain one with yellow yarn and elastic.
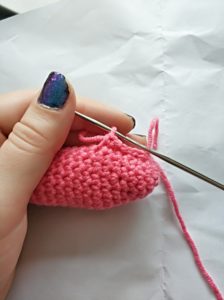
Increase by doing two yellow single stitches in the one knit stitch. Remove stitch from knitting needle once you’ve increased the knit stitch.
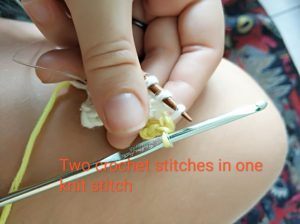
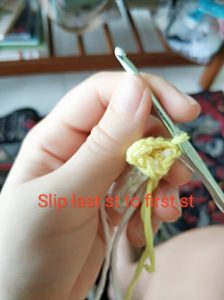
Repeat crochet increase in the next three knit stitches and put knitting needles away. Slip stitch into first crochet stitch, joining the round. (8).
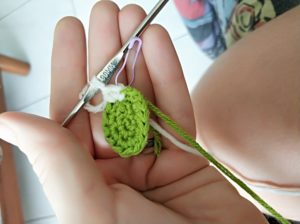
9: increase in each stitch (16).
10: (inc, sc)*8. (24)
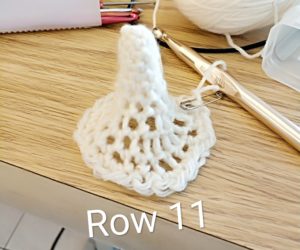
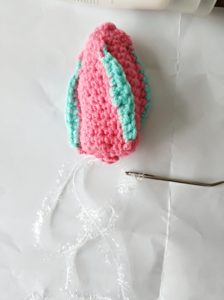
11: One round in blue and elastic. Sl st with blue yarn into first stitch of round. Chain 1. In same st, increase. 3 sc in next 3 sts. (Inc, 3 sc) * 5. (30)
12. One round in green and elastic. Skipping chain st, sl st with green yarn into first stitch of round. Chain 1. In same st, increase. 4 sc in next 4 sts. (Inc, 4 sc) * 5. (36)
Work in blue and elastic for remainder.
13. Skipping chain st, sl st with blue yarn and elastic into first stitch of round. Chain 1. In same st, increase. 8 sc in next 8 sts. (Inc, 8 sc) * 3. (40)
Working the arms.
Sk ch st, sl into first st. Chain 16.
Working back along chain, 5 sl sts. Before working the rest of the chain, chain 6. (In the image, I ran out of elastic and am using only blue yarn, but please do work with elastic and yarn throughout the pattern!)
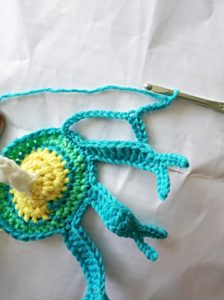
Working back along secondary chain, 5 sl sts.
Now returning to the main chain, 1 sc, 1 hdc, 8 dc. At end of chain, sl st into the next st of the circle. Sl 4 more, then repeat from “chain 16” to make 7 more arms.
When you’ve slipped into the st just before the first arm, fasten off.
Petals on I-Cord
Go back to the tail of white yarn and elastic that you left at the beginning of the I-cord.

(Sl into the next st, ch 3 and sl back into the same st) * 4. When you’ve finished 4 petals, finish off and weave in all ends.
Stiffening the ephyra
If you want to make the ephyra stand up and hold shape, you’ll need to use a stiffening solution. There are several ways to do this, such as by diluting white glue with water or by cooking a starch solution. You can find instructions for making a stiffening solution here: https://craftingagreenworld.com/articles/diy-natural-fabric-stiffeners/
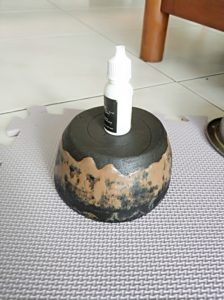
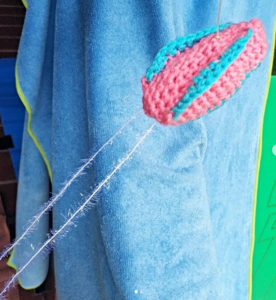
Once you’ve made the solution and let it cool enough so you can touch it, immerse the ephyra form fully in the solution. Let it sit and soak for about a minute. In the meantime, prepare a clean area where you can stretch it over a mold and pin it down. I like to use a blocking mat for knitting.
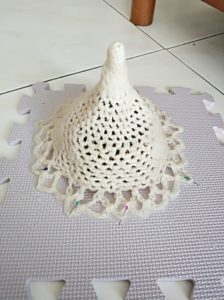
Assemble a few different shapes that will fill out your radiolarian. I just used a bowl that fit ok. Stretch the ephyra over the bowl/mold, fan out the arms, and pin the edges down with rust-proof straight pins. I recommend that you try to pin the two sections of the arms close to each other so they form less of a v-shape and look more like the picture we’ve based the ephyra off of.
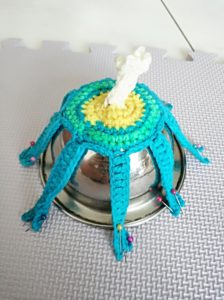
Let the form dry, under a fan if necessary, unpin, and detach the ephyra carefully from the mold and blocking board. Good job!!
 (original photo from Comb Jellies Wikispaces)
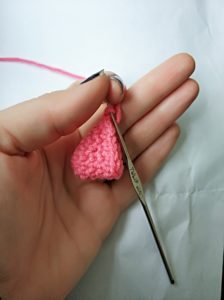


 (image from Wikipedia)
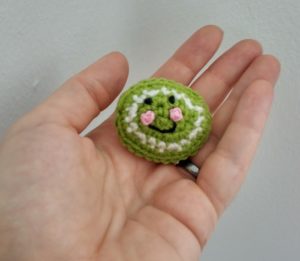
 (image from The Scientist Magazine)
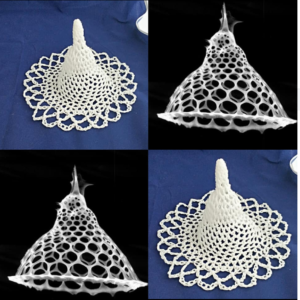 (image from dorabella-ommo.blogspot.com)